Starting with zero subscribers can feel overwhelming. But learning how to build an email list from scratch is one of the smartest things you can do for your business.
Unlike social media platforms that can change the rules overnight, your email list is yours. You control when and how you reach people, and it can quickly become your most reliable source of traffic, leads, and sales.
In this guide, I’ll walk you through a simple, proven process to grow your list from nothing, even if you don’t have a website or audience yet.
Quick steps to build an email list:
Why Build an Email List First
Starting your business growth with an email list gives you control, stability, and a direct way to reach people who care about what you offer.
Here’s why it should be your first priority:
- You own your audience – Social media platforms can change algorithms or shut down features overnight. With email, you have a direct line to your subscribers, and no one can take it away.
- Higher engagement rates – The average email open rate across industries is 30–42% depending on the source, compared to less than 1% organic reach on most social platforms.
- Better return on investment – Email marketing generates about $36 for every $1 spent on average, making it one of the highest-ROI marketing channels available.
- Direct, personal connection – Emails land in your subscriber’s inbox, making them harder to miss and easier to personalize than social posts.
- Easy to segment and target – You can group subscribers based on interests, past purchases, or engagement, then send each group tailored content to increase clicks and conversions.
How to Build an Email List from Scratch (Step-by-Step)
If you’re starting with zero subscribers, the process can feel daunting, but you don’t need a huge audience or expensive tools to begin. The key is to start small, be consistent, and focus on building trust from day one.
Below, I’ll walk you through a simple, beginner-friendly plan that works even if you don’t have a website yet. Each step is designed to help you grow your list steadily while keeping new subscribers engaged and ready to hear from you.
Step 1: Set Up a Basic Website (Even If It’s Just One Page)
Before you can start collecting emails, you need a place to send people. Even if your full website is not ready, you can begin with a basic WordPress site and a single landing page where visitors can join your list.
If you have never built a site before, start with our step-by-step guide on how to create a WordPress website. It explains how to choose a domain, set up hosting, and install WordPress.
Once WordPress is ready, you can use SeedProd to create your first page.
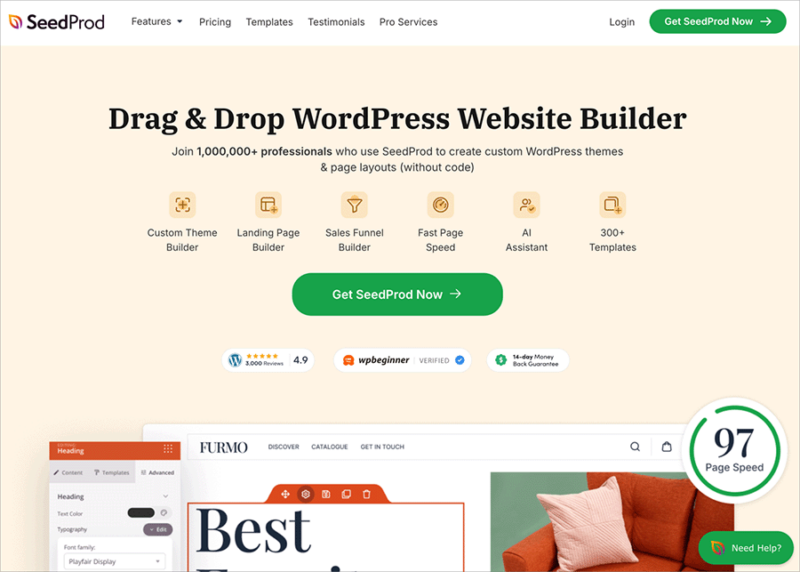
SeedProd is a beginner-friendly drag-and-drop builder for WordPress that lets you design landing pages, coming soon pages, and full websites without any coding. It includes ready-made templates, built-in signup forms, and direct integrations with popular email marketing tools so you can start collecting subscribers immediately.
Here is how to set it up:
- Install SeedProd – Add the plugin to your WordPress site and activate it.
- Choose a template – Pick one of SeedProd’s pre-made designs for a landing page or coming soon page.
- Add your signup form – You can connect it to your email marketing tool (we will choose that in the next step).
- Publish your page – Keep it simple with a short headline, a brief description, and a clear call to action.

This setup allows you to start promoting your list right away, even before your full website is finished. See this guide for a complete walkthrough on creating an under construction page in WordPress.
Step 2: Pick an Email Marketing Tool
Once you have a landing page ready, you need a way to collect, store, and manage the email addresses people give you. This is where an email marketing tool comes in.
With one in place, you can:
- Add signup forms to your site or landing pages
- Send updates, offers, and newsletters to subscribers
- See who opens and clicks your emails
- Group subscribers based on their interests or behavior
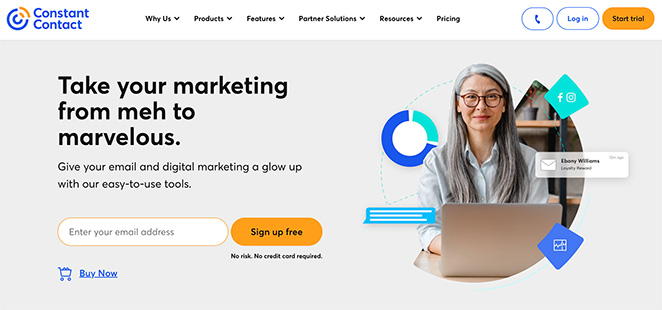
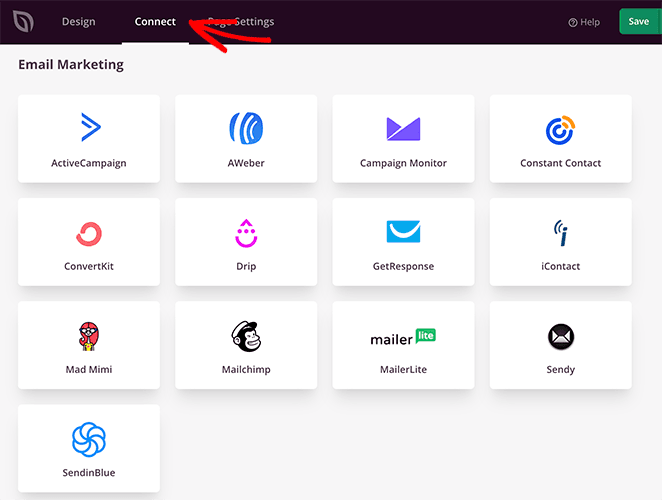
A few beginner-friendly options are Constant Contact and Brevo. They’re easy to set up and work well with popular WordPress plugins. For more options, see my list of top email marketing services.
Once you’ve signed up, create your first email list (sometimes called “contacts” or “audience”). This is where every new subscriber will go.
The good news is, most platforms include a detailed walkthrough or setup wizard that will guide you through connecting your site, adding forms, and sending your first email. So you don’t need to figure it out on your own.
At this point, it’s also a great idea to set up a professional email address for your brand.
Step 3: Create a Simple Signup Incentive (Lead Magnet)
Most people will not subscribe to your list just to “get updates.” They need a clear reason to sign up, and that’s where a lead magnet can help. A lead magnet is something valuable you give away for free in exchange for an email address.
Popular lead magnet examples include:
- A checklist or cheat sheet
- A short eBook or guide
- A discount code for first-time buyers
- A free trial or sample
- Access to a mini-course or webinar
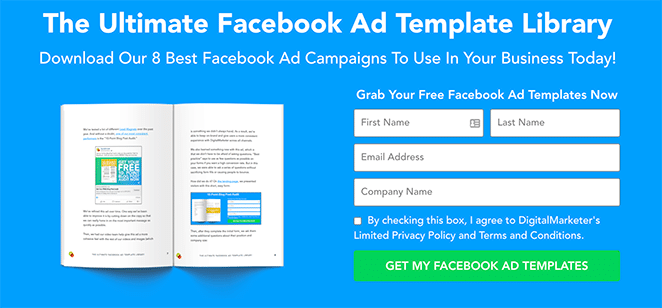
The best lead magnets solve a specific problem for your audience. For example, if you sell kitchen gadgets, a “10 Quick & Healthy Weeknight Recipes” PDF is more appealing than a generic “Join our newsletter” message.
Once your lead magnet is ready:
- Upload it to your website or email marketing tool so it can be delivered automatically.
- Set it as the reward for subscribing through your SeedProd landing page.
- Make the offer clear in your signup form headline so visitors know exactly what they will get.
I’ve even put the whole process together for you in my guide on how to create a lead magnet in WordPress.
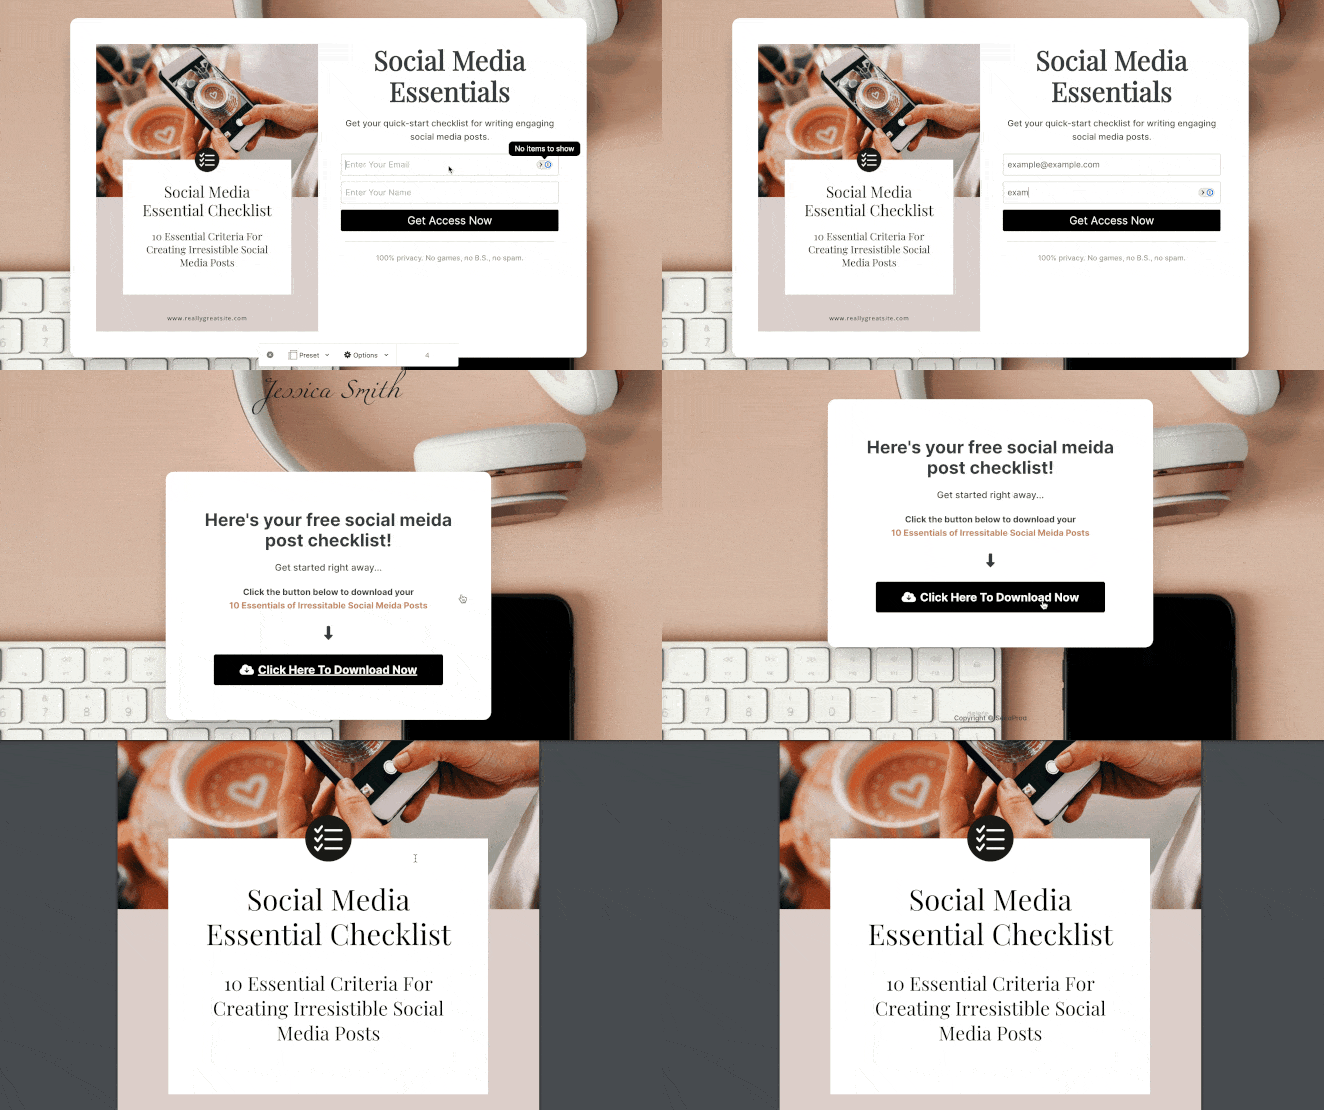
With your website, email tool, and lead magnet in place, you now have everything you need to start attracting your first subscribers.
Step 4: Add Opt-in Forms to Key Places
Now that you have a lead magnet ready, you need to make sure people can easily find it and subscribe. Your opt-in form is the bridge between visitors and your email list, so place it where it will get the most attention.
Key places to add your opt-in form:
- Your landing page – This is your main signup spot. Keep the form above the fold so it is visible without scrolling.
- Homepage – If your full site is live, add an opt-in section near the top and again toward the bottom.
- Blog posts – Place opt-ins at the end of articles related to your lead magnet.
- Site sidebar or footer – Good for a persistent signup area across multiple pages.
- Pop-ups or slide-ins – These can appear when a visitor is about to leave or after they have been on a page for a set time.
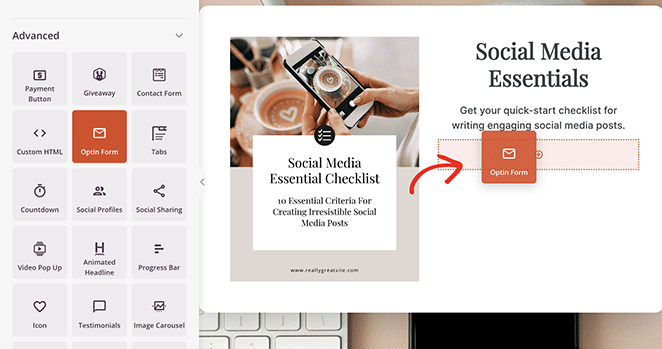
If you are using SeedProd, you can drag and drop an opt-in form block into any page, then connect it directly to your email marketing tool so new subscribers are added automatically.
For more advanced options, consider using OptinMonster. It lets you create exit-intent popups, floating bars, full-screen welcome mats, and other high-converting opt-in campaigns that appear at just the right time.
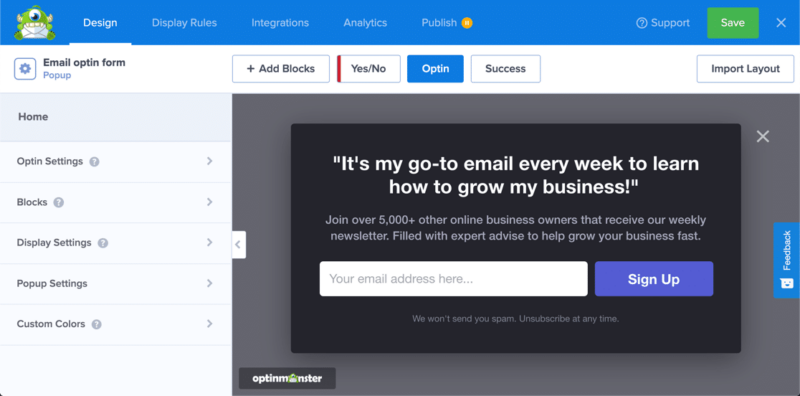
When combined with your lead magnet, these can significantly boost signups. For more options, see my roundup of the best email subscription popup plugins.
Step 5: Drive Traffic to Your Signup Page
You can have the best landing page and lead magnet in the world, but without visitors, your list will not grow. The key is to consistently send people to your signup page from different channels so you are not relying on just one source.
Some of my tried and tested methods to drive traffic are:
- Share on social media – Post about your freebie on Facebook, Instagram, LinkedIn, and X, and include the signup link in your bio.
- Add it to your email signature – Every email you send is a chance to promote your list.
- Guest posts and collaborations – Partner with other creators or businesses in your niche and share each other’s offers.
- Use paid ads – Even a small budget on Facebook or Google Ads can send targeted traffic to your landing page.
- Link from your content – If you have a blog or YouTube channel, add your signup link wherever it makes sense.
With SeedProd, you can even create personalized landing pages for different offers, then drive traffic to each one through specific campaigns. This keeps your messaging relevant to each audience segment.
Another great option is to run a giveaway. Using RafflePress, the best WordPress giveaway plugin, you can create contests where entering requires an email address.
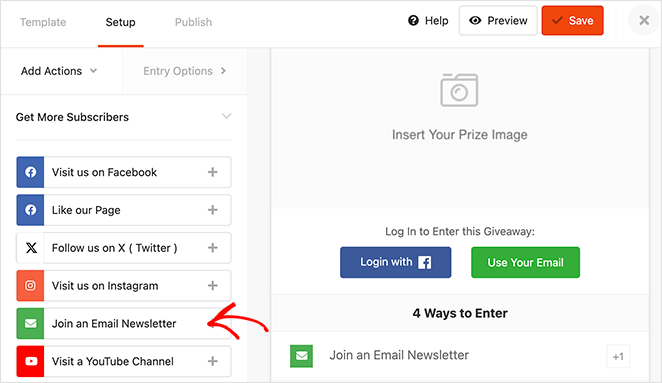
Giveaways can quickly generate a large number of targeted subscribers, especially when combined with social sharing options.
See our guide on how to create an online contest for step-by-step instructions.
Step 6: Send a Welcome Email
Once someone joins your list, the first email they receive sets the tone for your relationship. A well-crafted welcome email makes new subscribers feel valued and encourages them to take the next step with you.
Your welcome email should:
- Thank them for joining – A simple “Thanks for signing up” goes a long way.
- Deliver your lead magnet – Include a clear link or download button so they get what you promised right away.
- Introduce yourself – Share a short sentence or two about who you are and what your business does.
- Set expectations – Let them know what kind of emails they will receive and how often.
- Invite engagement – Ask a quick question or link to a helpful resource to start the conversation.
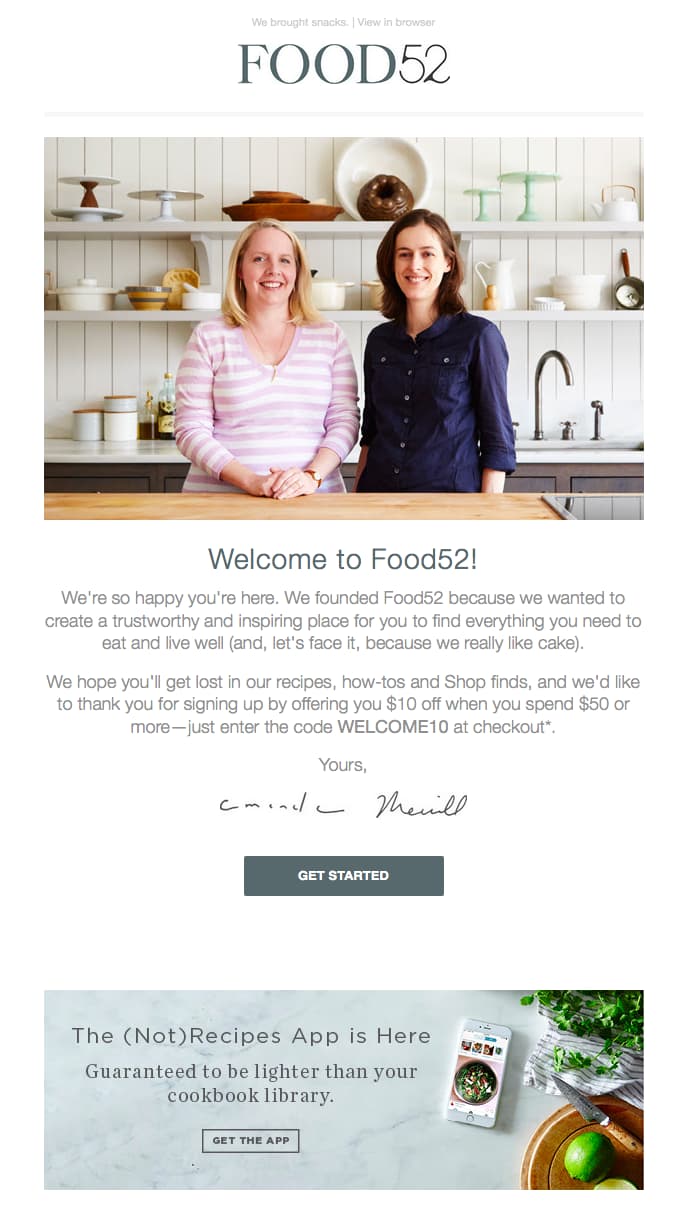
Most email marketing tools let you set up an automated welcome email so it sends instantly after someone subscribes.
If you’re using SeedProd, make sure it’s connected to your email platform so this process runs automatically.
Step 7: Stay Consistent with Your Emails
Building an email list is only the first step. To keep subscribers engaged and interested, you need to email them regularly with content they find valuable.
To stay consistent with your email marketing, follow these tips:
- Choose a schedule you can stick to – Weekly, bi-weekly, or monthly is fine as long as you are consistent.
- Mix content types – Share helpful tips, behind-the-scenes updates, special offers, and product news.
- Keep it short and focused – One main topic per email works best.
- Write like a person – Use a friendly tone so your emails feel personal, not corporate.
- Track your results – Check open rates, click rates, and unsubscribes to see what works.
I particularly like this approach from Tushy. Their emails share quirky, useful content that fits their brand voice, while still giving readers a reason to click through, without feeling overly promotional.

The more value you deliver, the more likely subscribers are to stay on your list and eventually become paying customers.
FAQs on Building an Email List from Scratch
Start Building Your List Today
Starting from zero can feel intimidating, but every big list began with a single subscriber. The key is to take that first step, put your signup page out into the world, and keep showing up with value.
With a simple WordPress site, an email marketing tool, and a focused lead magnet, you already have everything you need to begin. SeedProd makes it easy to design a professional signup page in minutes, connect it to your email platform, and start collecting subscribers right away.
Your future audience is out there. They’re looking for the tips, products, or solutions you offer—so don’t make them wait. Create your first page today, send your first email, and watch your list grow one subscriber at a time.
You may also find the following guides helpful for growing your email list:
- How to Announce a New Website by Email
- Easy Ways to Convert Website Visitors Into Customers
- High-Converting Ebook Landing Page Examples
- How to Create a Pre-Launch Landing Page in WordPress
- How to Create a New Website Launch Marketing Plan
Thanks for reading! We’d love to hear your thoughts, so please feel free to join the conversation on YouTube, X and Facebook for more helpful advice and content to grow your business.

