

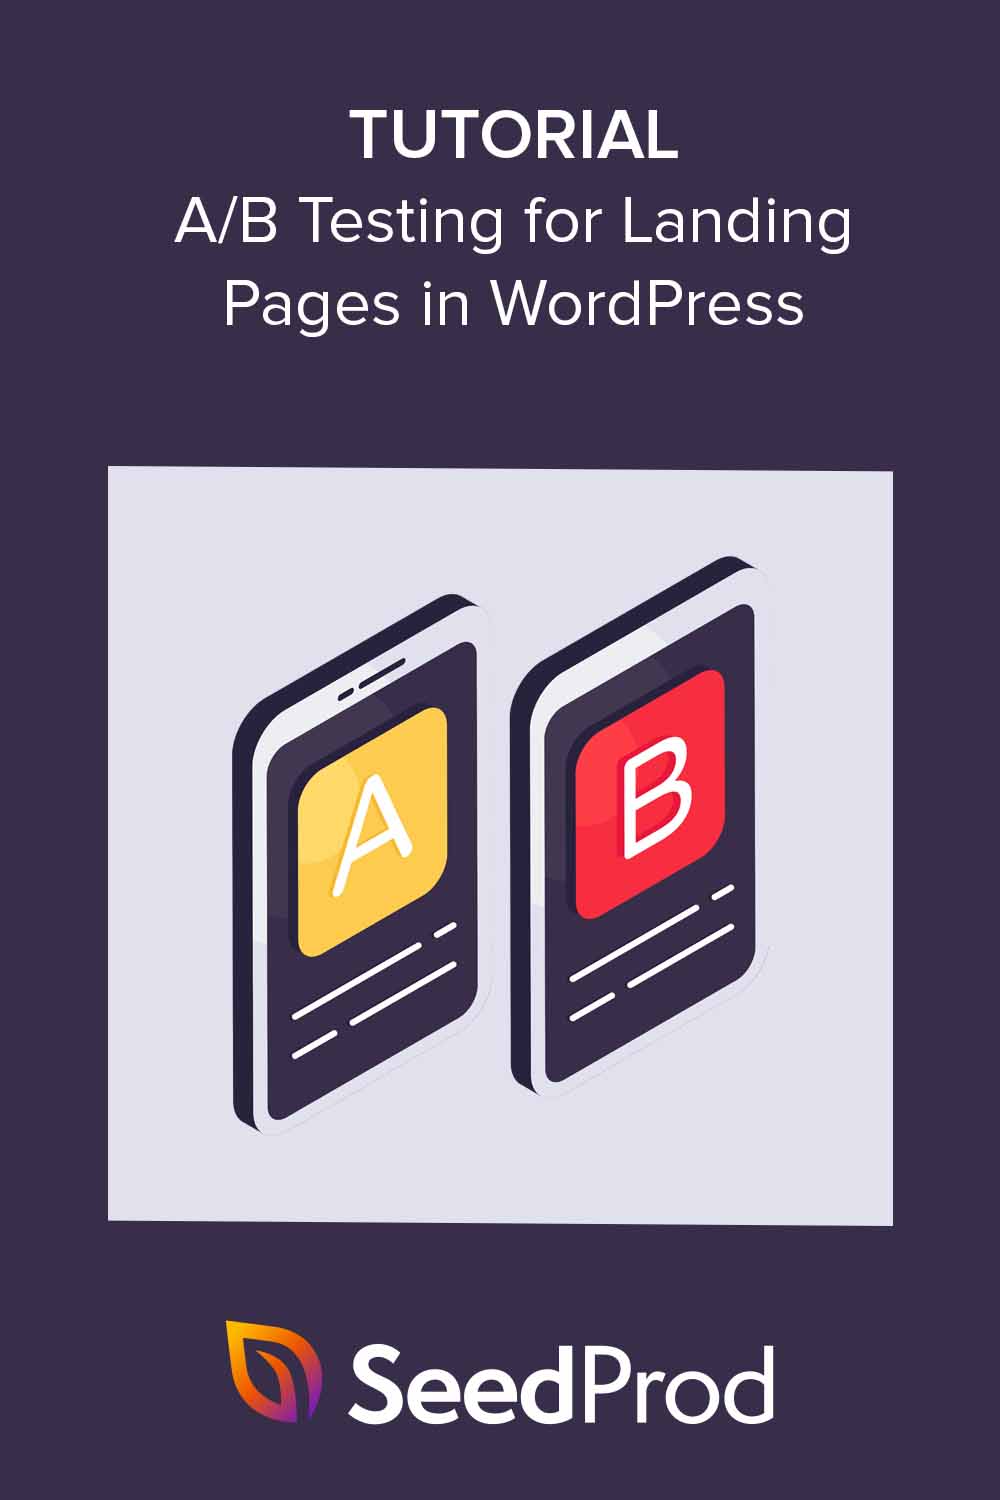
TL;DR: How to A/B Test Landing Pages
A/B testing shows you which version of your landing page converts better, using real visitor data instead of guesswork. Here’s how to run your first test:
- Set a goal and hypothesis – Decide what you want to improve and predict why one version might perform better.
- Pick a testing tool – VWO integrates directly with SeedProd landing pages and includes a 30-day free trial.
- Build your variation – Change one element only (headline, CTA, or image) to isolate what’s working.
- Define your conversion metric – Track sign-ups, clicks, or form submissions, not just time on page.
- Run to statistical significance – Aim for at least 1,000 visitors per variation before drawing conclusions.
- Implement the winner – Publish the winning version in SeedProd and pause the test in VWO.
A/B testing for landing pages is the fastest way to validate your marketing ideas. I once assumed a specific headline would be a winner, only to see the alternative version convert 20% better.
That is the power of testing. It replaces guesswork with hard data, helping you find quick wins for landing page optimization without redesigning your whole site.
In this guide, I’ll show you how to set up split testing for landing pages step by step. I will also share the best tools to use and the common mistakes I see beginners make.
- What Is A/B Testing for Landing Pages?
- A/B Testing vs. Multivariate Testing vs. Split URL Testing
- Best A/B Testing Tools for Landing Pages
- What Elements Should You Test First?
- How Much Traffic Do You Need for A/B Testing?
- How to A/B Split Test Landing Pages in WordPress
- 1. Set Up Your VWO Account
- 2. Install the VWO SmartCode
- 3. Create a New A/B Test
- 4. Define the Landing Page URL
- 5. Create Landing Page Variations
- 6. Define Your Test Goals and Metrics
- 7. Configure Optional Settings
- 8. Launch Your A/B Testing for Landing Pages
- 9. Analyze Your A/B Test Results
- 10. Implement the Winning Version
- What Are the Best Practices for A/B Testing Landing Pages?
- FAQs on A/B Testing for Landing Pages
What Is A/B Testing for Landing Pages?
A/B testing for landing pages compares two page versions to find which converts better, with even small changes like button text or headline wording improving conversion rates by 10-30%.
A/B testing for landing pages is a technique where you create two versions of a landing page. Each version has a unique tweak, like a new value proposition or a different call-to-action.

Your visitors randomly see one of these versions. The aim is to determine which update leads to more engagement, like clicks or sign-ups, from your audience.
Why Test Landing Pages?
Testing your landing pages helps you make data-driven decisions instead of relying on gut instinct. Even small changes, like a headline or button color, can shift your results in a big way.
- Higher conversions: On average, landing pages convert at around 5.89% across industries. A/B testing helps you beat that baseline by finding out what works best for your audience.
- Data over guesswork: 71% of companies run at least two tests per month. The reason is simple, testing replaces assumptions with real evidence.
- Reduced risk: Instead of overhauling a design and hoping it works, A/B testing lets you validate changes step by step.
- Insights into behavior: Tests often reveal surprising user preferences, giving you ideas for other marketing campaigns.
If your goal is landing page optimization with A/B testing, start small and improve the elements that move conversions first.
Over time, these incremental optimizations compound, helping you get more leads, sales, and engagement without increasing your ad spend.
A/B Testing vs. Multivariate Testing vs. Split URL Testing
You’ll often hear terms like A/B testing, multivariate testing, and split URL testing. They sound similar, but they work a little differently.

| Testing Method | How it Works | Best Used For |
|---|---|---|
| A/B Testing | Compares two versions of a page with one key difference (like the CTA button color). | Beginners and testing specific elements. |
| Multivariate Testing | Tests multiple changes at once, such as a new headline and a new image. | Finding the best combination of elements. |
| Split URL Testing | Sends visitors to entirely different URLs to compare pages. | Testing completely new designs or layouts. |
Most beginners should start with A/B tests. They are the fastest path to an enhanced user experience and landing page optimization.
Best A/B Testing Tools for Landing Pages
Here are the best A/B testing tools I recommend for split testing landing pages in WordPress. If you are asking what are the best free A/B testing tools for small businesses, VWO offers a comprehensive free trial, and OptinMonster provides affordable options for growing teams.
| Tool | Key Feature | Best For |
|---|---|---|
| OptinMonster | Tests opt-in forms and popups. | Lead generation and CRO. |
| Thrive Optimize | Integrated with Thrive Architect. | Existing Thrive Themes users. |
| VWO | Visual editor and advanced metrics. | SeedProd users and advanced testing. |
| ABtesting.ai | AI-automated optimization. | Hands-off, automated testing. |
What Elements Should You Test First?
Here’s a simple order of operations for landing page optimization with A/B testing:
- Headline: Experiment with different header phrasings, lengths, or tones. See which one grabs attention best and prompts the reader to stay longer.
- Images: Try swapping images or altering their placement to see how they affect conversion rates.
- Call-to-Action Button (CTA): Experiment with the text, button color, and size of CTAs to see which gets more clicks. You can specify what you’re offering in the CTA text, which can help SEO.
- Form Length: Try short forms with minimal fields versus longer, more detailed ones. This helps you determine your audience’s preference.
- Content and Offers: Experiment with different offers or content presentations. Even slight tweaks in landing page copy or formatting can lead to different user responses.
- Layout and Design: Experiment with different page designs and page layouts to build an effective landing page that offers a user-friendly experience.
How Much Traffic Do You Need for A/B Testing?
Most A/B testing tools recommend at least 1,000 visitors per variation before drawing conclusions. Running a test on less data makes your results unreliable, because random fluctuations can look like real patterns.
Even if you hit 1,000 visitors quickly, run your test for at least 2-3 weeks. Different days of the week bring different user behavior, and a test that ends on a Monday might miss your Friday traffic patterns entirely.
VWO includes a built-in sample size calculator in your dashboard. Enter your current conversion rate and expected improvement to see exactly how long to run your test before the results are meaningful.
How to A/B Split Test Landing Pages in WordPress
In this guide, I’ll show you how to A/B test SeedProd landing pages using VWO.

I recommend VWO because it has an easy interface, advanced testing, and WordPress integration. Plus, it offers a 30-day full-feature free trial, which lets you explore its features before committing to a subscription.
VWO also works on top of SeedProd’s visual builder and templates.
If you’re running Google Ads, you can also use Google Ads Experiments to split-test two landing page URLs directly in your campaign settings. This is a no-cost alternative for PPC-focused testing, though it only covers paid traffic. For a complete walkthrough on building the test page itself, see How to Create a Quick Landing Page to Test Ideas.
Here’s a step-by-step guide showing you how to A/B split test a landing page made with SeedProd using VWO.
1. Set Up Your VWO Account
First, visit the VWO homepage and sign up for a free trial.

After entering your details, VWO will send a verification email to your provided email address. Click the link in the email to confirm your account and proceed.
After confirming your account, you’ll need to add more details to your profile. Type in your full name and phone number. Then, pick your country and select your department. It should fit your role, like Marketing, Product, or Development.
Now, select the products you want to try. Choose the VWO Testing – Web option for split testing and click Next.

The setup is complete; your next step is to connect VWO to your website.
On the next screen, click the Connect Now button.

Here, you’ll see 3 options: Website, Mobile App, and SeverSide.
Select the ‘Website’ option and click Next.

Now, enter your website’s domain name. VWO uses this to generate your SmartCode and auto-verify the installation.

After, click Add Domain.
2. Install the VWO SmartCode
VWO should automatically detect your site runs on WordPress. This makes adding its SmartCode to your site easier.
Instead of copying and pasting code onto every page, you can install and activate the VWO WordPress plugin.
To do this, click the ‘download the plugin here’ link, which saves the plugin ZIP file to your computer.

Then, go to Plugins » Add New Plugin from your WordPress dashboard and upload the file you downloaded.
Click ‘Choose file,’ select the file from your computer, and click Install Now.

After installing the plugin, click the Activate Plugin button.

Upon activation, go to Plugins » Installed Plugins and click ‘Settings’ on the VWO plugin.

On this page, enter your VWO Account ID in the first text field, then click Save Changes.

You can find your Account ID in the top right corner of your VWO dashboard.

Now, you can return to your VWO dashboard and enter your URL to check the code is installed correctly.
You should see a success message similar to our example:

You’re now ready to start your first A/B split test.
3. Create a New A/B Test
Start creating a new A/B test for your landing page by clicking Testing » A/B on your VWO dashboard.

Here, you’ll see details on how VWO tests your pages:
- Easy-to-Use Editor: Create tests using a visual editor or VWO’s developer-friendly code editor to build advanced tests.
- Cross-platform testing: Test your website traffic across mobiles, tablets, and desktops.
- Powered by SmartStats: Uses advanced math to analyze data faster and give you accurate results you can trust.
Click Create an A/B Test to get started.
4. Define the Landing Page URL
Now, you’ll see a page where you can tell VWO which landing page to test.
First, click the pencil icon to name the test. This makes it easier to identify if you run multiple tests.

Then, enter the URL of the web page you want to test. This is the URL that people see in their browser address bar when they visit your landing page.

A/B testing with VWO allows you to test multiple pages or a larger set of pages using specific URLs. However, we’ll keep this guide simple using a single URL.
5. Create Landing Page Variations
After defining your landing page URL, click the Variations tab.
Here, you’ll see a Control page (your current live SeedProd page) and the option to add a variation (version B).
Click the ‘Add variation’ link.

This creates a duplicate of your page you can edit based on what you want to change and test.
After creating a variation, click the Edit button.

This opens VWO’s visual editor, where you can choose which elements to adjust.

Begin by selecting the element you’d like to change. With your selection made, you can make modifications.
For each element, VWO offers several editing options. You can alter text, replace images, or make broader visual changes.
We’ll change the background color of the CTA button. This option is in the ‘Styles’ tab of the element customization options.

Repeat this for every variation you want to test, then click Save and Continue in the bottom right corner.
The aim is to experiment, so don’t hesitate to be bold with your changes. Aim for clear variations to evaluate which leads to better landing page conversions.
6. Define Your Test Goals and Metrics
Next, select the Metrics tab in your VWO dashboard. This page lets you choose what VWO will track to gauge the success of each variant.

Typical conversion goals for landing pages are sign-ups, sales, or form submissions. Pick a goal that matches the action you want your visitors to take.
You might want to track conversion rates, click-through rates, or the amount of time spent on the page.
- Conversion rates measure the percentage of visitors who complete the desired action.
- Click-through rates indicate how many visitors click on a specific feature, and time spent on the page can show visitor interest and engagement.
If your goal is to get more email subscribers, focus on the conversion rate of the sign-up form. But if you want to boost engagement with a specific feature on your page, consider using metrics like the amount of time spent on the page or how far visitors scroll.
In VWO, you can get highly specific by entering the CSS class of a page element.
To find your button’s Class, open your page in the SeedProd builder and click the Button block. Then, go to the Advanced tab and look for the ‘CSS Classes’ field.
For example, we’ve selected the CSS class of the button we customized.

7. Configure Optional Settings
VWO also offers advanced settings you can fine-tune:
- Visitor Segments: Direct landing page tests at audiences based on location, device, or past activity. For example, you could make a landing page for mobile users.
- Traffic Allocation: Divide your website traffic among landing page versions. You may choose an equal 50-50 split or test a new design on 30% of visitors while keeping the original design for the rest.
- Test Duration: Decide a start and end date, or run tests indefinitely until you’re confident in the findings.

Before moving on, click Save Now to save your changes.
8. Launch Your A/B Testing for Landing Pages
After setting up your variations and goals, you’re ready to start your A/B test. Simply click the Start Test button in VWO.

Your A/B test is active, and VWO will split your traffic according to your guidelines.
During this test, landing page visitors will randomly see one of your variants.
Each visitor to a variant is considered a “visit” for that particular version. If a visitor accomplishes the goal of your test (e.g., clicking a CTA button), it counts as a “conversion” for that version.
9. Analyze Your A/B Test Results
After starting your test, you can monitor the results in your VWO dashboard.

You’ll see important stats like conversion and click-through rates, helping you understand which version performs better.
However, it can take some time before you see accurate results. Just be patient and let the data build up over time.

Once you have a clear winner, it’s time to make it your default page.
10. Implement the Winning Version
Once VWO identifies a winner, go to your SeedProd dashboard and publish the winning variation as your live landing page. Return to VWO and pause the test so you stop splitting traffic.
Before closing out the test, document what you changed, what improved, and by how much. This record becomes the starting point for your next test.
What Are the Best Practices for A/B Testing Landing Pages?
Running an effective A/B test means more than setting it up. It’s about following proven practices and avoiding the traps that lead to bad data.
✅ Best Practices
- Test One Element at a Time: Changing too many things at once makes it impossible to know what worked. Keep each variation focused.
- Focus on High-Impact Elements: Start with your headline, call-to-action, or pricing, areas most likely to affect conversions.
- Use a Large Enough Sample Size: Small traffic = unreliable results. Run your test long enough to reach statistical significance.
- Track the Right Metrics: Tie your tests to real goals like email marketing sign-ups, sales, or clicks, not just “time on page.”
❌ Common Mistakes
- Ending Tests Too Early: Cutting a test short can give misleading winners. Wait until you’ve reached significance. 95% confidence means you can be 95% sure the result isn’t random chance, and VWO’s SmartStats panel shows this automatically.
- Testing Without a Hypothesis: Don’t just “try things.” Every test should answer a clear question (e.g., does a shorter form increase sign-ups?). A good hypothesis follows this structure: if I change [element] from [A] to [B], I expect [metric] to improve because [reason]. For example, if I change the CTA button from “Sign Up” to “Get Free Access,” sign-up rates should increase because it emphasizes the benefit over the commitment.
- Ignoring User Behavior: Use heatmaps and session recordings to see how people interact, don’t just look at numbers.
- Forgetting to Document Results: Keep a record of what you tested and learned, so you can build on insights over time.
FAQs on A/B Testing for Landing Pages
How much traffic do I need for A/B testing a landing page?
Most testing tools recommend at least 1,000 visitors per variation before drawing conclusions. For smaller sites, run your test for a minimum of 2-3 weeks regardless of traffic, to account for day-of-week variation. VWO’s built-in sample size calculator can help you estimate the right test length for your specific traffic levels.
What is statistical significance in A/B testing?
Statistical significance means you can be confident a test result reflects a real difference and not random chance. At 95% confidence, you’re 95% sure the winning variation actually performs better. VWO’s SmartStats panel shows your confidence level automatically as the test runs, so you always know when the data is ready.
What is the difference between A/B testing and split URL testing in WordPress?
A/B testing serves two variations from the same URL, so visitors don’t see a URL change. Split URL testing sends visitors to entirely different URLs, which is better for testing a completely redesigned page. For most WordPress landing page tests, A/B testing is simpler to set up and easier to interpret.
How do I A/B test a landing page in WordPress without coding?
Use a visual testing tool like VWO, which lets you make changes through a point-and-click editor without touching any code. Connect VWO to your WordPress site via its plugin, create a variation by clicking elements in the visual editor, and start the test. SeedProd landing pages work with VWO’s visual editor out of the box.
When should I stop an A/B test?
Stop when you’ve reached statistical significance, not when a certain number of days has passed. Most tools show a confidence level in the dashboard, and you should pause the test when you hit 95% confidence with enough visitors in each variation. Stopping early, even if one variation looks ahead, can give you misleading results.
Next Steps
You now have everything you need to start testing your WordPress landing pages with confidence. The faster you start, the faster your pages improve.
You can also consider the following guides for optimizing your landing page:
- Expert Landing Page Optimization Tips
- How to Create a Quick Landing Page to Test Ideas
- How to Create Personalized Landing Pages to Boost Conversions
- Landing Page Headline Formulas to Boost Conversion Rates
- Landing Page Not Converting? 9 Tips to Fix It Fast
Thanks for reading! We’d love to hear your thoughts, so please feel free to join the conversation on YouTube, X and Facebook for more helpful advice and content to grow your business.


