

Do you want to create a lightbox in WordPress without slowing down your website or writing code?
A lightbox lets visitors click on an image or video and view it in a distraction-free pop-up instead of a new tab. This makes your galleries feel more professional, improves the user experience, and keeps people on your site longer.
In this guide, I’ll show you two simple ways to add a WordPress lightbox step by step so you can choose the method that works best for your site.
Quick steps create a lightbox in WordPress:
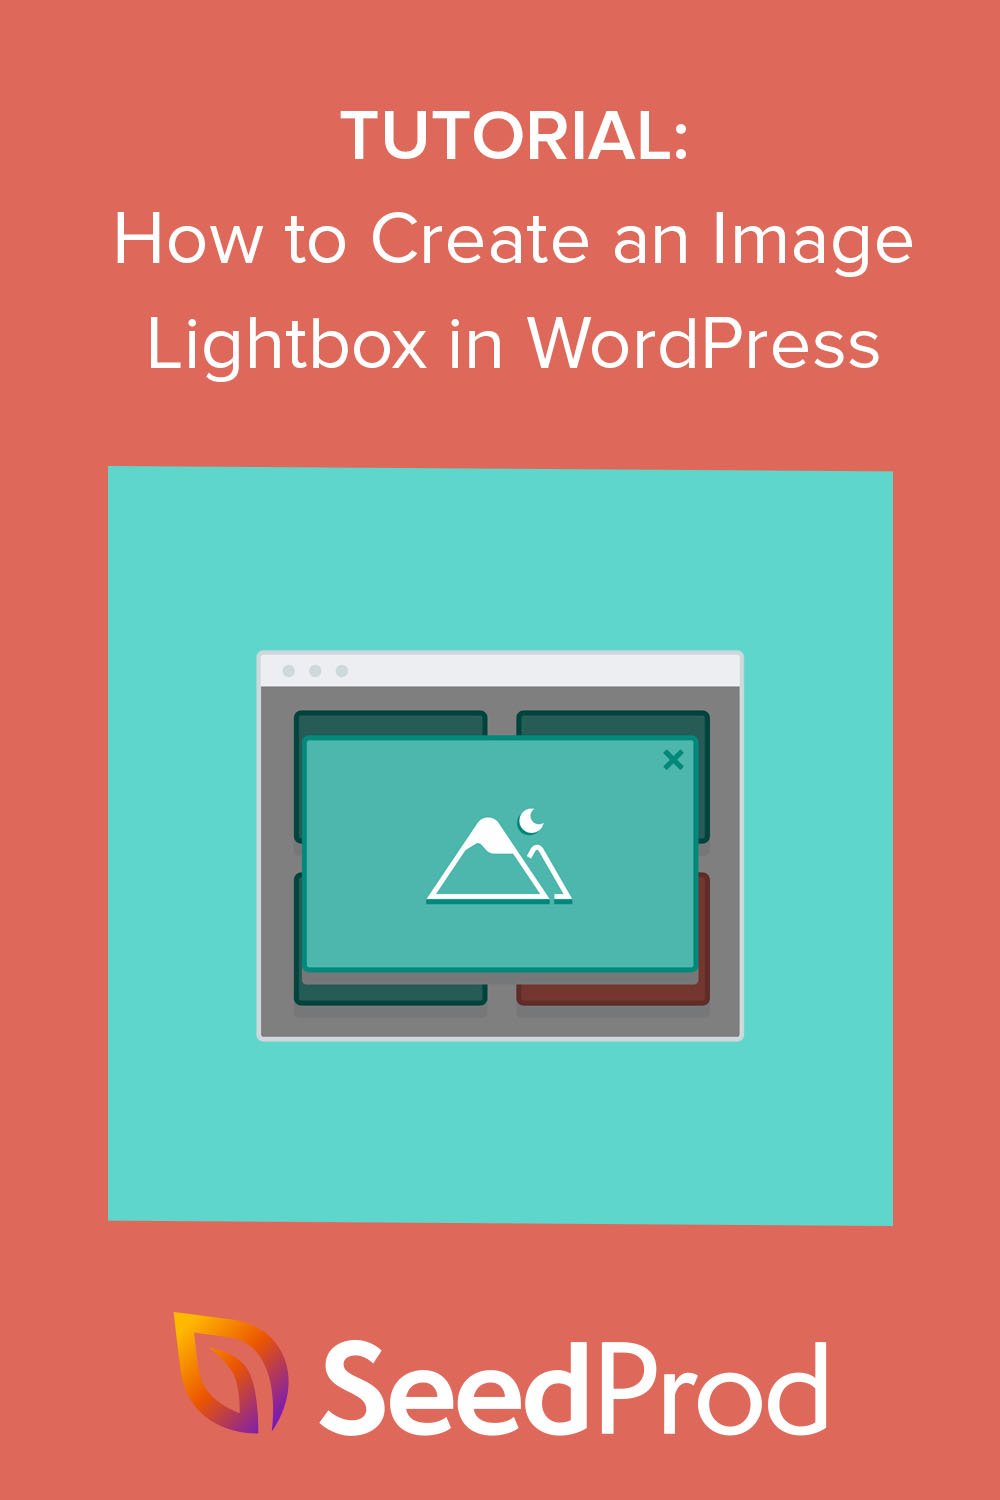
What Is a Lightbox in WordPress?
A lightbox is a pop-up window that appears on top of your page when a visitor clicks an image, video, or link. The rest of the page is dimmed in the background, making the content inside the lightbox the main focus.

This feature is popular because it:
- Lets users view larger versions of images without leaving the page
- Reduces distractions by keeping the background grayed out
- Creates a more professional, polished gallery experience
Lightboxes are often used for image galleries, product photos, videos, and even opt-in forms. Once visitors are done, they simply click the close button to return to the main page.
When Should You Use a Lightbox in WordPress?
A lightbox is a good choice any time you want visitors to focus on one piece of content without leaving the page. This is especially helpful if you want to keep people engaged and reduce extra page loads.
Common uses for a WordPress lightbox include:
- Showcasing photography or creative portfolios
- Displaying product images with more detail
- Highlighting screenshots, design mockups, or examples of work
- Playing videos from YouTube or Vimeo in a distraction-free way
You can also use lightboxes for sign-up forms or important announcements. Because the rest of the page dims in the background, visitors are more likely to notice and interact with the message.
How to Create a Lightbox in WordPress Using SeedProd
First, we’ll show you how to create an image lightbox in WordPress with SeedProd, the best WordPress website builder.

| Tool: WordPress Page Builder |
| Pricing: Varies (Free and paid options available) |
| Free Version: Yes |
| Standout Features: 🔹 Visual drag-and-drop editor 🔹 Easy image lightbox toggle 🔹 Fast and beginner-friendly |
| Best For: Beginners who want a no-code way to add a WordPress lightbox |
SeedProd comes with pre-made website kits and landing page templates that let you create a WordPress website design with a few clicks. You can then customize your website with its drag-and-drop page builder and customizable WordPress blocks and sections.
With SeedProd’s Image block, you can enable a lightbox to show large versions of your WordPress gallery images, and it’s these features we’ll showcase in the following tutorial.
Before we move on, here’s what else you can do with SeedProd:
- Create landing pages that convert, including (404, sales, squeeze, webinar, thank you, and login)
- Build a custom WooCommerce site for your online store
- Control who can bypass your coming soon or maintenance mode page
- Personalize your landing pages with dynamic text
- Grow your email list with email marketing integrations and the subscriber management dashboard
- And much more.
Step 1. Install and Activate SeedProd
First, head to SeedProd’s pricing page, choose a license plan, and create your SeedProd account. Once you’re inside your account dashboard, go to the Downloads tab and download the SeedProd plugin file to your computer.

While you’re there, copy the license key because you’ll need that shortly.
After downloading the plugin, install and activate it on your WordPress website. You can follow this tutorial on installing a WordPress plugin if you’ve never done this before.
When the SeedProd plugin is active on your site, navigate to SeedProd » Settings and paste the license key you copied earlier into the relevant field. Now click the Verify Key button and move on to the next step.

Step 2. Create a WordPress Theme or Landing Page
The next step is to start building your WordPress theme or landing page. The SeedProd plugin lets you do both but if you’re unsure which option to use, here is an explanation:
- Theme Builder – With the Theme Builder, you can replace your current WordPress theme with a new custom theme. You can choose from many pre-made website kits and install your design with 1 click. SeedProd will then create all the parts of your theme, allowing you to customize them visually with its page builder.
- Landing Page Builder – The Landing Page Builder lets you make standalone landing pages that work alongside your current WordPress theme. You can choose from various responsive landing page templates, then customize them with the drag-and-drop page builder.
Both solutions let you add image lightboxes to your design, so pick one that best fits your needs. If you need help starting, here are some tutorials on creating a custom WordPress theme and building a landing page with SeedProd.
Once you’ve chosen your templates and built the framework for your landing page or theme, you can follow step 3 below to add an image lightbox to your design.
Step 3. Decide Where to Add your Image Lightbox
Now it’s time to decide where you’d like to add your WordPress image lightbox.
For this guide, we’re creating an interior design website with a custom portfolio page using the theme builder, so we’ll edit the page with SeedProd to open the drag-and-drop builder.

When you open your design, you’ll see a 2 column layout with blocks and sections on the left and a design preview on the right. You can move elements around on your preview by clicking, dragging, and dropping.

Let’s start by adding a new column for our portfolio images. From the sidebar, drag the Columns block onto your page and choose a layout design.

Next, drag the Image block to each column in the page section.

From there, you can click each image block and upload an image from your computer or WordPress media library.

Now you can add a lightbox to each image in your gallery. To do this, simply click any image block, find the “Link Type” heading, and select the Media – Lightbox option from the drop-down menu.

Repeat this for every single image link in your gallery, then click the Save button in the top-right corner to save your changes.

Step 4. Publish Your Changes
The final step is to publish your responsive lightbox gallery on your WordPress website. To do this for a custom WordPress theme, go to SeedProd » Theme Builder from your WordPress admin, and turn the “Enable SeedProd Theme” toggle to the “Yes” position.

If you’re publishing a landing page, open it in the page builder, click the Save button drop-down arrow and select Publish.

Now you can view your new design to see how it looks.

And when you click any image in your gallery, you’ll open a responsive full-screen image lightbox.

How to Create an Image Lightbox Using a Gallery Plugin
Another way to add an image lightbox to your WordPress site is with a WordPress image gallery plugin. For this method, we’ll use Envira Gallery, one of the most popular gallery plugins for WordPress.

| Tool: Envira Gallery Plugin |
| Pricing: Starts at $26/year |
| Free Version: Yes |
| Standout Features: 🔹 Drag-and-drop gallery builder 🔹 Built-in lightbox settings 🔹 Mobile-responsive templates |
| Best For: Users who need advanced gallery customization |
With this lightweight drag-and-drop image gallery plugin, you can create optimized image galleries for posts, pages, widget areas, and sidebars. The plugin is also easy to use and speed optimized, so your images will load quickly for website visitors.
Get started by installing and activating the Envira Gallery plugin on your WordPress website. Next, navigate to Envira Gallery » Add New to create a new image gallery.

You can add images to your gallery by clicking the Select Files from Your Computer button. However, if you’d like to use images from your media library, click the Select Files from Other Sources button.
After adding images to your gallery, you can rearrange them by dragging and dropping the thumbnails.
Now click the Configuration tab to configure your gallery settings.

On this screen, you can:
- Change the number of gallery columns
- Enable lazy loading for images
- Display the gallery description
- Enable titles and captions
- Set the image size and crop position
- Change the gallery theme
- Adjust the margins and paddings
Next, click the Lightbox tab, which is for customizing the lightbox settings.

First, ensure the Enable Lightbox option is checked, then adjust the settings to change your lightbox theme, display captions, add transition effects, and more.
When you’re happy with your gallery settings, click the Publish button in the top right corner.

To display your gallery to website visitors, create or edit a post or page, then click the plus (+) icon inside the WordPress block editor to add a new WordPress block.
Search or scroll until you see the Envira Gallery block, and click it to add it to your page.

Next, choose your gallery from the drop-down menu to preview your lightbox gallery.

You can then click the Update or Publish button to save your changes.
When you preview your page, your gallery should look similar to this example:

You can then click any image to view it in a responsive lightbox gallery like this:

Bonus: Add Envira Gallery to SeedProd Pages
If you’re building your WordPress pages with SeedProd, you can easily add your Envira Gallery lightbox galleries directly into any page or template. This makes it simple to showcase your images in a professional way without using shortcodes or extra steps.
- Open your SeedProd page or template in the drag-and-drop editor.
- Search for the Envira Gallery block in the sidebar and drag it onto your page.
- Choose your gallery from the dropdown menu and adjust the display settings.

This integration lets you combine SeedProd’s flexible page builder with Envira Gallery’s powerful lightbox features, so you can create beautiful, high-converting image galleries on any page of your site.
FAQs About Creating a Lightbox in WordPress
Adding a lightbox to your WordPress site is one of the easiest ways to make your images, videos, or galleries look more professional. It keeps visitors focused on your content and prevents them from leaving the page unnecessarily.
Whether you use a page builder or a gallery plugin, the setup takes only a few minutes. Pick the method that fits your site best, follow the steps, and you’ll have a working WordPress lightbox ready to go.
Here are some other helpful tutorials you may like:
- How to Add a Gallery to WordPress Posts and Pages
- How to Create Tabs in WordPress for Stunning Tabbed Content
- How to Add a Tweet Button to WordPress (3 Ways)
- How to Add a Custom Add-to-Cart Button in WooCommerce
Thanks for reading! We’d love to hear your thoughts, so please feel free to join the conversation on YouTube, X and Facebook for more helpful advice and content to grow your business.


