

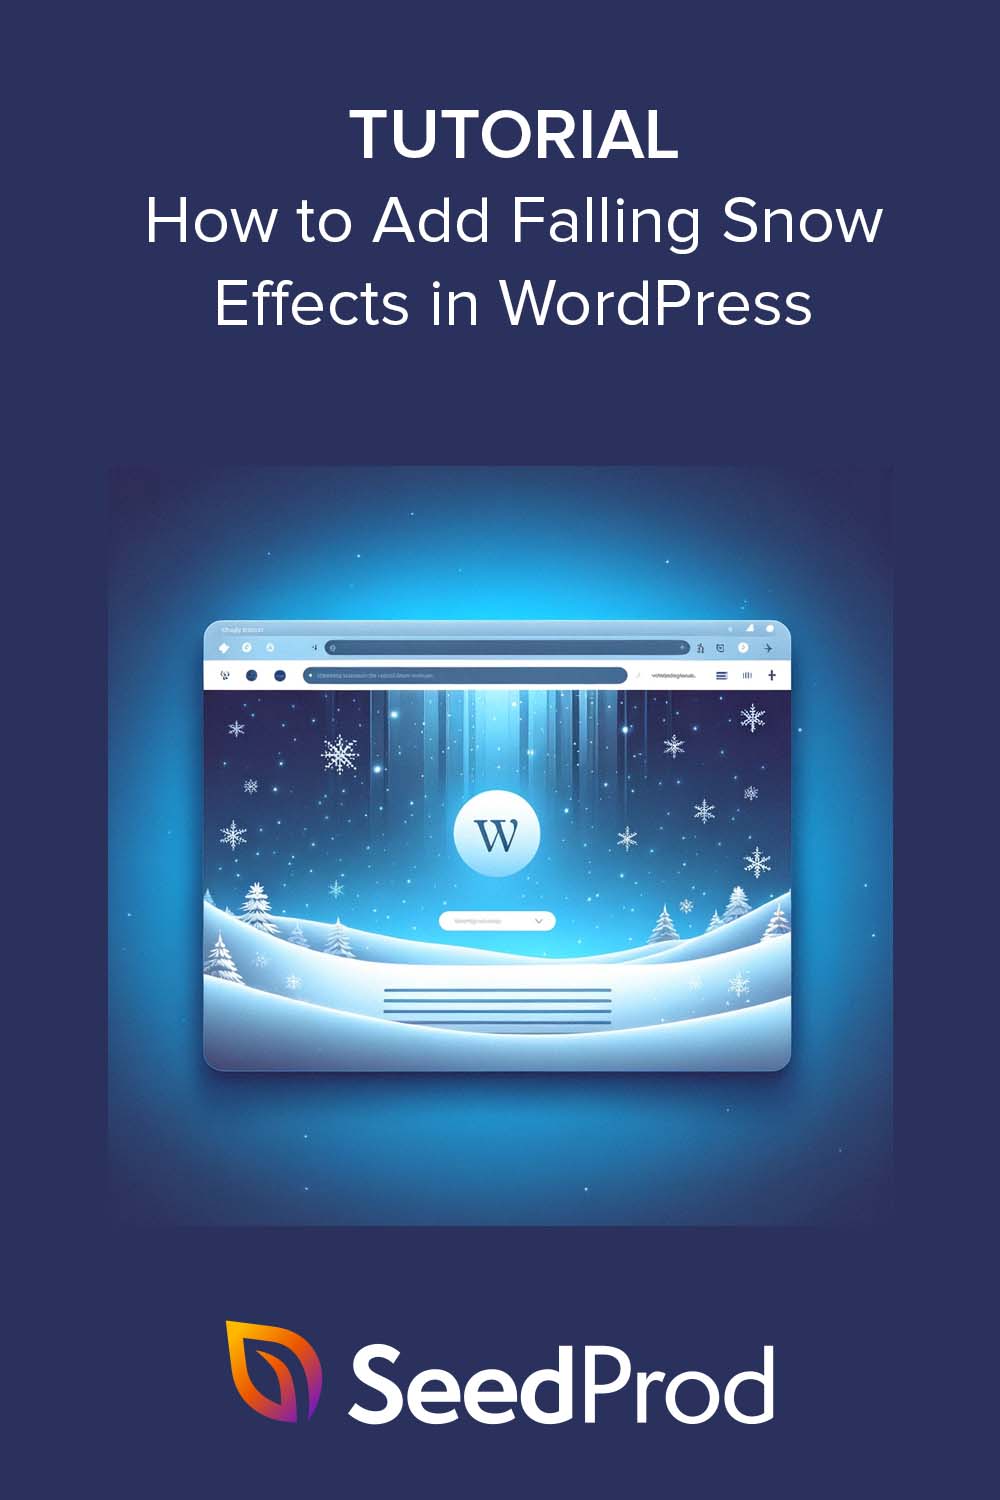
I’ve added snow effects to WordPress sites many times, especially for holiday campaigns, and it always makes pages feel more festive. The best part is you don’t need coding skills to do it.
In this guide, I’ll show you exactly how to add a snow effect in WordPress using SeedProd (the easiest way), a free plugin, or a simple snippet. I’ll also share tips to keep your site fast and accessible so visitors enjoy the effect without slowing down.
Why Add Snow Effect in WordPress?
Snow effects are an easy way to add holiday cheer and make your site feel more inviting. They work especially well during Christmas promotions, seasonal campaigns, or festive blog content.
If you run a WooCommerce store, snowfall animations can highlight special discounts and create a sense of excitement that boosts sales. Bloggers can also use them to add personality and keep readers engaged through the holiday season.
The key is to use the effect where it makes sense, like your homepage, landing pages, or shop archive, without overwhelming visitors. Done right, it adds a festive touch that keeps people coming back.
How to Add Snow Effect in WordPress
There are several ways to add snow effects to your WordPress site.
Many WordPress page builders have built-in animations that let you add falling snowflakes and other effects without coding. You can also use a WordPress snow effects plugin or code the animation yourself.
The downside to coding snowflake effects is that it requires technical knowledge you may not have. Plus, paying a developer to do it for you can be quite expensive. That’s why we’ll show you 2 ways to add falling snow to your site: using a page builder and a WordPress plugin.
Example 1: How to Add Snow Effect in WordPress with a Page Builder

SeedProd is one of the best drag-and-drop WordPress website builders, with over 1+ million users. It helps you create custom WordPress themes and page layouts without touching a single line of code.
With its library of pre-made templates and visual page builder, you can easily customize any part of your website. It also includes particle background effects that allow you to add animations to any page section, including falling snowflakes.
Installing SeedProd
To get started, you’ll first need to install and activate the SeedProd plugin.
Note: SeedProd has a free version that lets you create a simple landing page without code. However, you’ll need one of its paid plans to use the Particle Background feature. We’re using the Pro version.
For help getting up and running, please see our guide on installing SeedProd Pro.
With SeedProd, there are 2 ways to customize your website:
- With the Landing Page Builder – Create individual pages that work seamlessly with your current WordPress theme.
- With the Theme Builder – Make a new WordPress theme to replace your existing one, complete with a custom header, footer, sidebar, blog, and more.
In the example below, we’ll create a custom theme using the theme builder and pre-made website kits. For all the steps to make one yourself, please see our guide on how to create a custom WordPress theme.
Adding Particle Background Effects
After setting up a custom page or WordPress theme, you’re ready to add snowflake animations. In this example, we’ll add the effect to our homepage, so navigate to SeedProd » Theme Builder and find the “Homepage” template in the list.

Next, hover your cursor over the template and click the Edit Design link. This opens the page in the drag-and-drop builder for you to customize.
SeedProd makes adding particle backgrounds super easy. Simply click any page section and select the Advanced tab in the left-hand sidebar.

Once inside the Advanced sidebar, click the Particle Background tab and turn on the “Enable Particle Background” toggle.

With the background animations enabled, click the Style dropdown and choose “Snowflakes” from the list.

Some of the other options include Halloween, Space, Polygon, Snow, and Christmas, but we’ll stick with Snowflakes for now.
From there, you can change how the snowflakes look. For instance, you can change the opacity, color, and even the flow direction.

For more options, enable the Advanced Settings toggle. Here, it’s possible to increase the number of particles, the particle size, and the falling speed.

Repeat this process for any other section where you want to show falling snowflakes. You can even mix things up by choosing the “Christmas” effect to show Christmas trees, winter gifts, and snow.

When you’re happy with the changes, click the Save button in the top right corner.
Now, you can visit your homepage and see your festive changes in action.

Example 2: How to Add Snow Effect in WordPress with a WordPress Snow Plugin
If you don’t want to use a page builder, you can add snow effects to your site with a WordPress plugin. And like before, you won’t need technical knowledge to make it work.
In this example, you’ll need to install and activate the DB Falling Snowflakes plugin. It’s completely free to use and only takes a few minutes to set up.
From your WordPress admin, navigate to Plugins » Add New and type “DB Falling Snowflakes” into the search box. Then go ahead and click Install and Activate.

After activating the plugin, click the DB Snow Flakes option in your WordPress admin bar. On this page, you can configure various settings that control how the snowflakes appear on your site.
Start by choosing the date and month for when you’d like snowflakes to start falling. You can also set a date to stop the falling snow effect.

Next, type the maximum number of snowflakes you want to appear on your site at any one time. You can also set the minimum and maximum snowflake size and use the slider to adjust how fast they fall.

After, scroll down and select 5 colors for your snowflakes. The plugin will randomly select each flake color from those options.

Finally, click the Save Changes button to store your settings. From there, you can visit your website on the start date you selected and see the snow storm effect in action.

Snow Effect FAQs
Get Started with Snow Effects in WordPress
I hope this guide helped you learn how to add snow effects in WordPress. Each of the methods above will help you add some festive cheer to your website. And the best part is you won’t need help from a developer. You can do it all yourself in minutes.
So go ahead and let it snow!
If you’re looking for more ways to make your site engaging, check our other tutorials and showcases:
- Best Animation Plugins for WordPress: Expert Pick
- Website Welcome Message Examples to Engage New Visitors
- How to Create Animated Number Counters in WordPress (2 Methods)
- 7 Best WordPress Banner Plugins to Boost Leads and Sales
Thanks for reading! We’d love to hear your thoughts, so please feel free to join the conversation on YouTube, X and Facebook for more helpful advice and content to grow your business.


