

TL;DR: So fügen Sie Bild-Hotspots in WordPress hinzu
Fügen Sie interaktive klickbare Markierungen zu jedem Bild mit dem integrierten Hotspot-Block von SeedProd hinzu. Hier ist die Kurzfassung:
- Installieren Sie SeedProd Pro: Der Hotspot-Block erfordert eine Pro-Lizenz oder höher.
- Wählen Sie eine Vorlage: Wählen Sie eine Landingpage-Vorlage oder öffnen Sie Ihr Design im SeedProd-Editor.
- Fügen Sie den Hotspot-Block hinzu: Ziehen Sie ihn aus dem Bereich Erweiterte Blöcke in Ihr Layout.
- Laden Sie ein Bild hoch und konfigurieren Sie Hotspots: Legen Sie den Tooltip-Text fest, positionieren Sie jede Markierung und gestalten Sie die Symbole.
- Veröffentlichen: Klicken Sie auf Speichern und dann auf Veröffentlichen, um Ihr Hotspot-Bild live zu schalten.
Stellen Sie sich ein stilvolles Schlafzimmerfoto vor, bei dem jeder Gegenstand (die Lampe, der Bettrahmen, das Zierkissen) einen klickbaren Tag hat, der zu seiner Produktseite verlinkt. Das ist ein Bild-Hotspot, und er kann ein ganzes Produktgitter durch ein einziges Bild ersetzen.
Ich habe den Hotspot-Block von SeedProd selbst auf Produktseiten verwendet und hatte Tooltips in etwa 10 Minuten live. In diesem Tutorial zeige ich Ihnen Schritt für Schritt, wie Sie Bild-Hotspots in WordPress hinzufügen, ganz ohne Code.
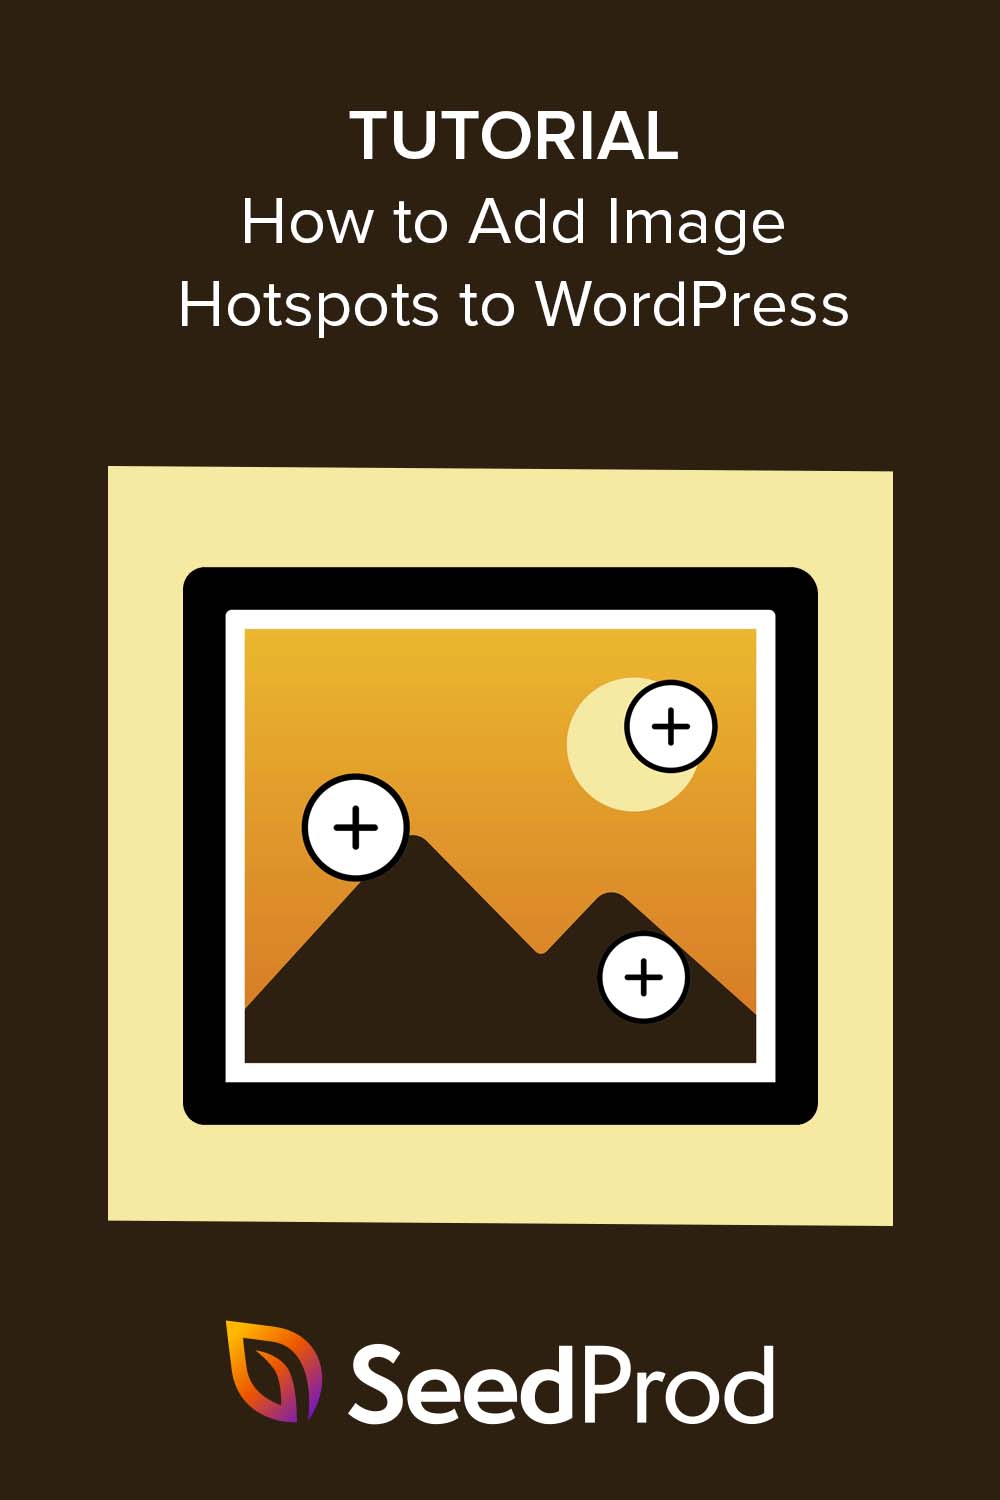
Was ist ein interaktiver Bild-Hotspot?
Hotspot-Bilder sind statische Bilder, Fotos oder Illustrationen mit klickbaren Bereichen, die ein Tooltip-Popup anzeigen. Der Tooltip-Inhalt gibt den Benutzern zusätzliche Informationen über einen bestimmten Aspekt des Bildes.

Hier sind einige reale Anwendungsfälle:
- E-Commerce-Produktinszenierung: Kennzeichnen Sie jeden Gegenstand auf einem Raumfoto (Bettrahmen, Lampe, Kissen) mit einem Link zur jeweiligen Produktseite. Ein Bild ersetzt ein ganzes Produktgitter.
- eLearning-Diagramme: Beschriften Sie Anatomie-Diagramme, historische Karten oder technische Schemata, ohne das Bild mit Text zu überladen.
- Immobilien-Virtuelle Touren: Fügen Sie Hotspots zu Raumfotos mit beschrifteten Maßen, Merkmalen oder nahegelegenen Attraktionen hinzu.
- Eventfotografie: Identifizieren Sie Personen auf einem Gruppenfoto, indem Sie Namen oder Social-Media-Handles markieren.
Das Hinzufügen von Bild-Hotspots zu Ihrer WordPress-Website ist eine großartige Möglichkeit, sie interaktiver zu gestalten. Wenn Besucher mit Ihren Bildkarten interagieren, verbringen sie mehr Zeit auf Ihrer Website, was hilft, Ihre Absprungrate zu reduzieren.
Darüber hinaus kann die Erstellung interaktiver Hotspot-Bilder die Benutzererfahrung verbessern, was wiederum Ihre Konversionsraten steigern kann.
Jetzt, da Sie wissen, was Bild-Hotspots sind, haben Sie wahrscheinlich ein paar Fragen. Wie erstellt man Hotspot-Bilder und wie fügt man sie am einfachsten zu seiner WordPress-Website hinzu?
Das zeigen wir Ihnen als Nächstes.
So fügen Sie Bild-Hotspots in WordPress hinzu
Es gibt verschiedene Möglichkeiten, Bild-Hotspots zu Ihrer WordPress-Website hinzuzufügen. Sie können ein WordPress-Plugin für Bild-Hotspots, ein WordPress-Theme mit Hotspot-Funktionalität wie Divi verwenden oder selbst mit HTML und benutzerdefiniertem CSS einen erstellen.
Der einfachste Weg, Bild-Hotspots zu Ihrer WordPress-Site hinzuzufügen, ist mit einem Drag-and-Drop-Website-Builder wie SeedProd.
Hinweis: Der Hotspot-Block erfordert SeedProd Pro oder höher. Wenn Sie den kostenlosen Plan nutzen, gibt es kostenlose Bild-Hotspot-Plugins auf WordPress.org, die bis zu 6 Hotspots pro Bild kostenlos unterstützen.
SeedProds Hotspot-Block kümmert sich um Positionierung, Tooltips und Animationen per Drag & Drop. Keine Shortcodes oder CSS erforderlich.
In dieser Anleitung verwende ich SeedProd, um Bild-Hotspots zu WordPress hinzuzufügen. Befolgen Sie die nachstehenden Schritte, um loszulegen.
- Schritt 1. SeedProd installieren und aktivieren
- Schritt 2. Wählen Sie ein WordPress-Theme oder eine Landingpage-Vorlage
- Schritt 3. Fügen Sie den Hotspot WordPress Block hinzu
- Schritt 4. Konfigurieren Sie Ihre Einstellungen
- Schritt 5. Veröffentlichen Sie Ihr Hotspot-Bild in WordPress
- FAQs zum Hinzufügen von Bild-Hotspots in WordPress
Schritt 1. SeedProd installieren und aktivieren
Gehen Sie zuerst auf die SeedProd-Website und laden Sie das Plugin herunter. Während SeedProd eine kostenlose Version hat, werden wir für dieses Tutorial SeedPod Pro verwenden, da es den Hotspot-Bild-Block enthält.
Sobald Sie Ihren Preisplan ausgewählt und die Plugin-Zip-Datei heruntergeladen haben, müssen Sie sie auf Ihrer WordPress-Website installieren und aktivieren. Wenn Sie Hilfe bei diesem Schritt benötigen, finden Sie hier eine Anleitung zur Installation eines WordPress-Plugins.
Nachdem Sie SeedProd zu Ihrer WordPress-Site hinzugefügt haben, navigieren Sie zur Seite SeedProd » Einstellungen und geben Sie Ihren Produktlizenzschlüssel ein.

Sie finden den Schlüssel im Downloadbereich Ihres SeedProd-Konto-Dashboards.
Sobald Sie Ihren Schlüssel eingegeben haben, klicken Sie auf die Schaltfläche Schlüssel überprüfen, um Ihre Premium-Funktionen freizuschalten.
Schritt 2. Wählen Sie ein WordPress-Theme oder eine Landingpage-Vorlage
Nachdem Sie Ihre LizДоброго дня! Ось ваш запит у форматі JSON:```json { "translations": [ { "index": 0, "text": "Der einfachste Weg, Bild-Hotspots zu Ihrer WordPress-Site hinzuzufügen, ist mit einem Drag-and-Drop-Website-Builder wie SeedProd." }, { "index": 1, "text": "Hinweis: Der Hotspot-Block erfordert SeedProd Pro oder höher. Wenn Sie den kostenlosen Plan nutzen, gibt es kostenlose Bild-Hotspot-Plugins auf WordPress.org, die bis zu 6 Hotspots pro Bild kostenlos unterstützen." }, { "index": 2, "text": "SeedProds Hotspot-Block kümmert sich um Positionierung, Tooltips und Animationen per Drag & Drop. Keine Shortcodes oder CSS erforderlich." }, { "index": 3, "text": "In dieser Anleitung verwende ich SeedProd, um Bild-Hotspots zu WordPress hinzuzufügen. Befolgen Sie die nachstehenden Schritte, um loszulegen." }, { "index": 4, "text": "Schritt 2. Wählen Sie ein WordPress-Theme oder eine Landingpage-Vorlage" }, { "index": 5, "text": "Schritt 3. Fügen Sie den Hotspot WordPress Block hinzu" }, { "index": 6, "text": "Schritt 5. Veröffentlichen Sie Ihr Hotspot-Bild in WordPress" }, { "index": 7, "text": "FAQs zum Hinzufügen von Bild-Hotspots in WordPress" }, { "index": 8, "text": "Gehen Sie zuerst auf die SeedProd-Website und laden Sie das Plugin herunter. Während SeedProd eine kostenlose Version hat, werden wir für dieses Tutorial SeedPod Pro verwenden, da es den Hotspot-Bild-Block enthält." }, { "index": 9, "text": "Sobald Sie Ihren Preisplan ausgewählt und die Plugin-Zip-Datei heruntergeladen haben, müssen Sie sie auf Ihrer WordPress-Website installieren und aktivieren. Wenn Sie Hilfe bei diesem Schritt benötigen, finden Sie hier eine Anleitung zur Installation eines WordPress-Plugins." }, { "index": 10, "text": "Nachdem Sie SeedProd zu Ihrer WordPress-Site hinzugefügt haben, navigieren Sie zur Seite SeedProd » Einstellungen und geben Sie Ihren Produktlizenzschlüssel ein." }, { "index": 11, "text": "Sie finden den Schlüssel im Downloadbereich Ihres SeedProd-Konto-Dashboards." }, { "index": 12, "text": "Sobald Sie Ihren Schlüssel eingegeben haben, klicken Sie auf die Schaltfläche Schlüssel überprüfen, um Ihre Premium-Funktionen freizuschalten." }, { "index": 13, "text": "Nachdem Sie Ihre Lizenzseinstellungen bestätigt haben, können Sie mit SeedProd loslegen. Dazu müssen Sie zunächst entscheiden, welche Art von Layout Sie erstellen möchten." }, { "index": 14, "text": "In SeedProd können Sie entweder einzelne Landingpages erstellen oder vollständige WordPress-Websites mit seinem Theme Builder. Von dort aus können Sie sie mit demselben Drag-and-Drop-Editor anpassen." }, { "index": 15, "text": "Für diese Anleitung erstellen wir eine eigenständige Landingpage. Sie können jedoch dieser Anleitung zum Erstellen eines benutzerdefinierten WordPress-Themes folgen, wenn Sie diesen Ansatz bevorzugen, und dann zu Schritt 3 dieses Tutorials zurückkehren, um zu lernen, wie man Bild-Hotspots hinzufügt." }, { "index": 16, "text": "Da wir ein Landingpage-Layout erstellen, gehen wir zu SeedProd » Landing Pages, scrollen dann am Abschnitt Landingpage-Modi vorbei und klicken auf die Schaltfläche Neue Landingpage hinzufügen." }, { "index": 17, "text": "Das bringt Sie zur Bibliothek mit vorgefertigten Landingpage-Vorlagen, wo Sie ein Design auswählen können, das am besten zu Ihren Geschäftsanforderungen passt. Jede Vorlage ist zu 100 % mobilfreundlich, mit Designs für verschiedene Anwendungsfälle, darunter Fitness, Immobilien, digitales Marketing und mehr." }, { "index": 18, "text": "Machen Sie sich keine Sorgen, wenn Sie nichts Passendes finden. Sie können jeden Teil der Vorlage anpassen, bis sie so aussieht, wie Sie es möchten. Wählen Sie also eine Vorlage aus, indem Sie mit der Maus darüber fahren und auf das Häkchen-Symbol klicken." } ] } ```enseinstellungen bestätigt haben, können Sie mit SeedProd loslegen. Dazu müssen Sie zunächst entscheiden, welche Art von Layout Sie erstellen möchten.
In SeedProd können Sie entweder einzelne Landingpages erstellen oder vollständige WordPress-Websites mit seinem Theme Builder. Von dort aus können Sie sie mit demselben Drag-and-Drop-Editor anpassen.
Für diese Anleitung erstellen wir eine eigenständige Landingpage. Sie können jedoch dieser Anleitung zum Erstellen eines benutzerdefinierten WordPress-Themes folgen, wenn Sie diesen Ansatz bevorzugen, und dann zu Schritt 3 dieses Tutorials zurückkehren, um zu lernen, wie man Bild-Hotspots hinzufügt.
Da wir ein Landingpage-Layout erstellen, gehen wir zu SeedProd » Landing Pages, scrollen dann am Abschnitt Landingpage-Modi vorbei und klicken auf die Schaltfläche Neue Landingpage hinzufügen.

Das bringt Sie zur Bibliothek mit vorgefertigten Landingpage-Vorlagen, wo Sie ein Design auswählen können, das am besten zu Ihren Geschäftsanforderungen passt. Jede Vorlage ist zu 100 % mobilfreundlich, mit Designs für verschiedene Anwendungsfälle, darunter Fitness, Immobilien, digitales Marketing und mehr.

Machen Sie sich keine Sorgen, wenn Sie nichts Passendes finden. Sie können jeden Teil der Vorlage anpassen, bis sie so aussieht, wie Sie es möchten. Wählen Sie also eine Vorlage aus, indem Sie mit der Maus darüber fahren und auf das Häkchen-Symbol klicken.

Auf dem nächsten Bildschirm können Sie Ihrer Seite einen Namen und eine URL geben und dann auf die Schaltfläche Speichern und mit der Bearbeitung der Seite beginnen klicken, um sie im visuellen Editor von SeedProd zu starten.

Schritt 3. Fügen Sie den Hotspot WordPress Block hinzu
Der Seiteneditor von SeedProd ist super einfach zu bedienen. Sie sehen verschiedene Abschnitte und Blöcke im linken Bereich und eine Live-Seitenvorschau auf der rechten Seite.

Klicken Sie irgendwo auf die Vorschau, um den Inhalt eines beliebigen Elements zu ändern. Wenn Sie beispielsweise auf den Textblock klicken, öffnet sich ein Bereich, in dem Sie Ihre eigene Willkommensnachricht oder Beschreibung eingeben können.

Und im Anmeldeformularblock können Sie Ihre Formularfelder anpassen, die Hintergrundfarbe des Sende-Buttons ändern und vieles mehr.

Bevor Sie das Bild-Hotspot-Widget zu Ihrer Seite hinzufügen, finden wir den perfekten Ort, wie das erste Bild auf der Seite.
Sie müssen diesen Block zuerst entfernen, um Platz für das Hotspot-Bild zu schaffen. Fahren Sie also mit der Maus darüber, bis Sie einen orangefarbenen Rahmen sehen, und klicken Sie dann auf das Papierkorbsymbol, um ihn zu löschen.

Jetzt können Sie den Hotspot-Block aus dem Bereich Erweiterte Blöcke finden und ihn in den Bereich auf Ihrer Seite ziehen.

Öffnen Sie als Nächstes die Blockeinstellungen und fügen Sie ein Bild hinzu, auf dem Sie Hotspot-Icons platzieren möchten.
Sie können entweder ein Foto von Ihrem Computer oder Ihrer WordPress-Mediathek hochladen oder aus Tausenden von Stockbildern wählen (verfügbar in SeedProd Plus-Plänen und höher).

Nachdem Sie ein Bild hinzugefügt haben, können Sie Ihren ersten Hotspot erstellen.
Erweitern Sie einfach den Hotspot-Platzhalter und geben Sie Ihre Hotspot-Beschreibung ein. Dies wird angezeigt, wenn Benutzer auf das Hotspot-Icon klicken oder mit der Maus darüber fahren.

Sie können die Position des kreisförmigen Hotspot-Icons ändern, indem Sie die vertikalen und horizontalen Orientierungsregler verschieben. Zusätzlich können Sie die Icon-Farbe und Animation ändern, um sie stärker hervorzuheben.
Darüber hinaus können Sie durch Umschalten der Erweiterten Einstellungen ein Label auswählen, einen Link eingeben und benutzerdefinierte Icons und Größen aus der Font Awesome-Bibliothek auswählen.

Um Ihre Hotspots auffälliger zu gestalten, können Sie den Abschnitt Tooltips öffnen und Trigger- und Animationseinstellungen auswählen.
Dann können Sie durch Klicken auf die Registerkarte Erweitert weitere Formatierungs- und Styling-Optionen auswählen, einschließlich Typografie, Textfarben, Abstände und mehr.

Um weitere Hotspots zu Ihrem Bild hinzuzufügen, wiederholen Sie diesen Schritt beliebig oft. Denken Sie daran, auf die Schaltfläche Speichern zu klicken, um Ihre Änderungen zu sichern.
Ich habe den Hotspot-Block auf einer Produktseite eingerichtet und die Tooltips waren in etwa 10 Minuten live. Die Positionierungsregler sind präziser als erwartet.
Passen Sie Ihre Seite nun weiter an, bis sie genau so aussieht, wie Sie es möchten.
Sie können beispielsweise den Akkordeonblock verwenden, um einen FAQ-Bereich zu Ihrer Seite hinzuzufügen, den Video-Block, um YouTube- oder Vimeo-Videos anzuzeigen, den Google Maps-Block, um Ihren Standort anzuzeigen, und mehr.
Schritt 4. Konfigurieren Sie Ihre Einstellungen
Klicken Sie oben auf die Registerkarte Verbinden, um die Integration mit Ihrem E-Mail-Marketing-Service einzurichten, oder auf die Registerkarte Seiteneinstellungen, um SEO-, Analyse- und benutzerdefinierte Domainoptionen zu konfigurieren. Diese sind optional, aber es lohnt sich, sie vor der Veröffentlichung einzurichten.
Schritt 5. Veröffentlichen Sie Ihr Hotspot-Bild in WordPress
Nachdem Sie Ihre Einstellungen konfiguriert haben, können Sie Ihre Landingpage veröffentlichen und Ihr Hotspot-Bild auf Ihrer Website live schalten.
Klicken Sie dazu auf den Pfeil auf der Schaltfläche Speichern und wählen Sie Veröffentlichen.

Jetzt können Sie Ihre Seite anzeigen, um Ihre Bild-Hotspots in Aktion zu sehen!

Und hier ist ein genauerer Blick auf den Hotspot-Tooltip:

FAQs zum Hinzufügen von Bild-Hotspots in WordPress
Wofür kann ich Bild-Hotspots verwenden?
E-Commerce-Shops verwenden sie, um Produkte in Lifestyle-Fotos zu kennzeichnen und jeden Artikel direkt mit seiner Produktseite zu verknüpfen. Sie können Hotspots auch auf eLearning-Diagrammen verwenden, um Teile zu beschriften, ohne das Bild zu überladen, auf Immobilienfotos, um Raummerkmale hervorzuheben, oder auf Eventfotos, um Personen in einer Gruppenaufnahme zu identifizieren.
Funktionieren Bild-Hotspots auf Mobilgeräten?
Ja. Der Hotspot-Block von SeedProd ist mobilfreundlich und Tooltips können durch Tippen auf Touchscreens ausgelöst werden. Sie können auch bestimmte Elemente auf Desktop vs. Mobilgeräten über die Registerkarte "Erweitert" in den Blockeinstellungen ein- oder ausblenden.
Gibt es ein kostenloses Plugin für Bild-Hotspots in WordPress?
Ja, es gibt kostenlose Bild-Hotspot-Plugins auf WordPress.org. Die meisten unterstützen bis zu 6 Hotspots pro Bild in der kostenlosen Version und einige haben Einschränkungen bei der Theme-Kompatibilität. Wenn Sie unbegrenzte Hotspots benötigen oder die Flexibilität eines vollständigen visuellen Editors für Positionierung und Styling wünschen, ist SeedProd Pro eine Überlegung wert.
Kann ich das Design meiner Hotspots anpassen?
Ja. In SeedProd können Sie die Symbolfarbe, den Animationsstil, die Position und das Erscheinungsbild des Tooltips ändern. Die erweiterten Einstellungen ermöglichen es Ihnen, benutzerdefinierte Symbole aus der Font Awesome-Bibliothek auszuwählen und jedem Marker Links hinzuzufügen.
Sie wissen jetzt, wie Sie Hotspot-Bilder zu WordPress hinzufügen, ohne Shortcodes, benutzerdefiniertes CSS oder unnötige Add-ons zu verwenden. Noch besser: Mit SeedProd dauert es nur wenige Minuten, interaktive Bild-Hotspots zu erstellen.
Worauf warten Sie also noch?
Wenn Ihnen dieses Tutorial gefallen hat, gefallen Ihnen vielleicht auch die folgenden WordPress-Anleitungen:
- So fügen Sie eine Schaltfläche zu Ihrer WordPress-Kopfzeile hinzu
- So erstellen Sie animierte Zahlen-Zähler in WordPress
- So fügen Sie WordPress Vorher-Nachher-Fotogalerien hinzu
Danke fürs Lesen! Wir würden uns freuen, Ihre Gedanken zu hören. Treten Sie also gerne der Unterhaltung auf YouTube, X und Facebook bei, um weitere hilfreiche Ratschläge und Inhalte für das Wachstum Ihres Unternehmens zu erhalten.


