The Payment Button (Stripe) block enables you to make sales and accept payments effortlessly through your Stripe account, eliminating the need for a full-fledged online store. With this convenient tool, you can start monetizing your website without any hassle.
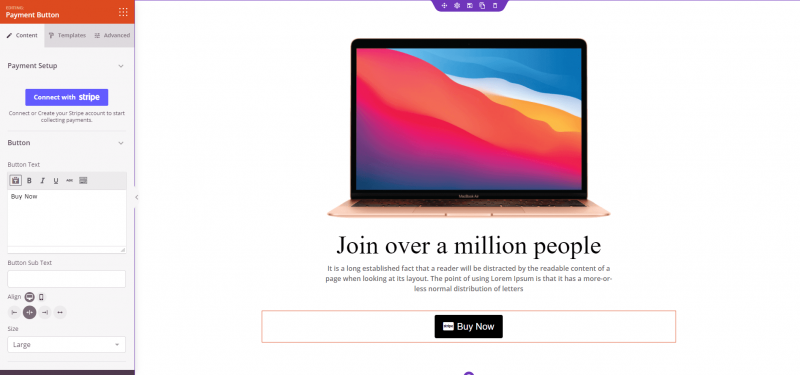
Adding the Payment Button to your SeedProd pages
Follow these steps to incorporate the Payment Button into your website:
- Under the Design > Advanced section, drag and drop the Payment Button block onto the desired page.
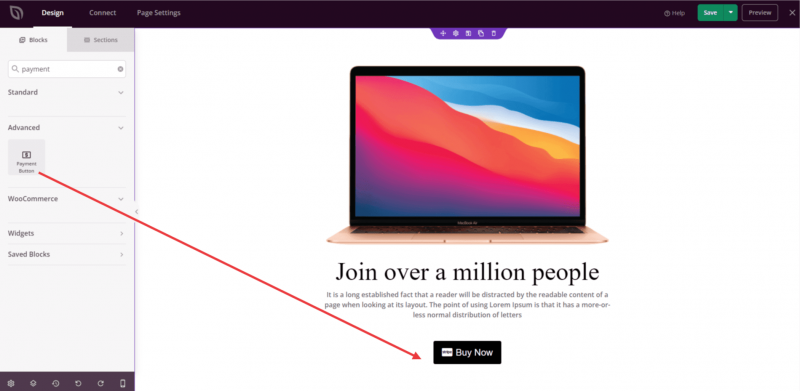
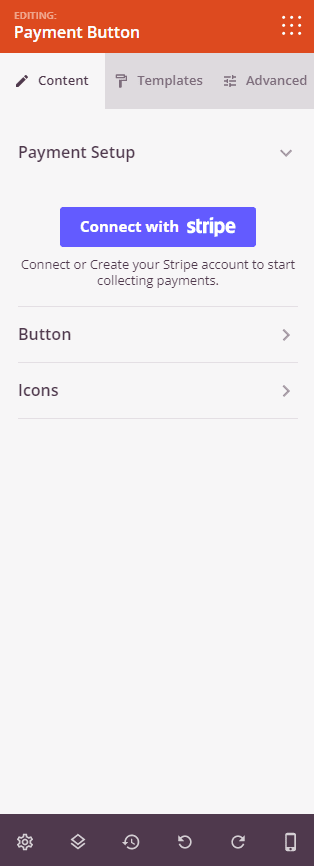
- Once added, click on the Once added, click on the Payment Button block to access its settings. In the Content tab, you can seamlessly connect to your Stripe account and initiate sales transactions from your website.
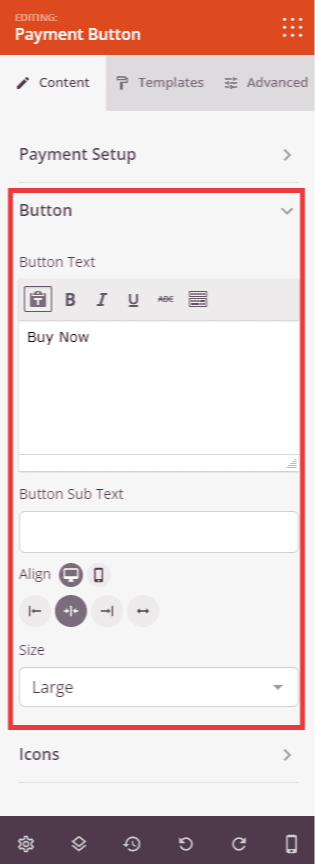
- In the Button tab, customize the button text, add a subtext, and adjust the button’s alignment and size as per your preference.
- The Icons tab allows you to incorporate icons before and after the button text.
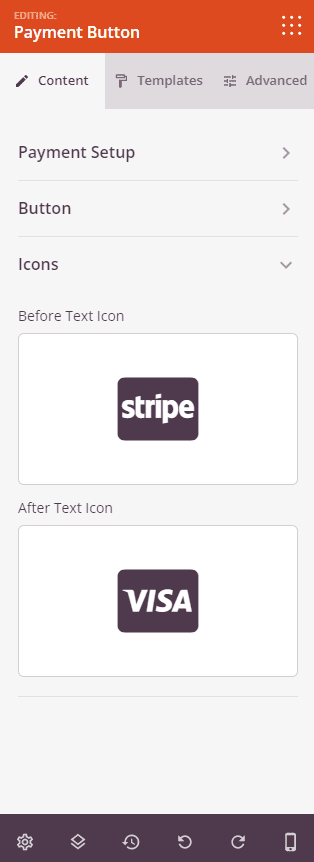
- Explore the Templates tab to choose from various predefined styles that can be applied to the Payment Button.
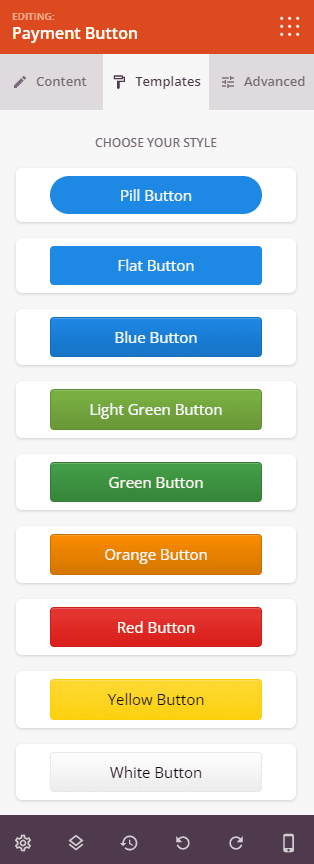
- The Advanced tab offers advanced controls to style the Payment Button’s typography, select a button style, add a background color, adjust padding, set border radius, define button border width and color, text shadow, and shadow.

- Furthermore, you’ll find options to modify the spacing of the Payment Button, add a custom class, and configure device visibility options.

- Remember to save your work to preserve any changes made.
That’s it! With the Payment Button (Stripe block), you can easily facilitate sales and collect payments on your website, empowering your business and enhancing the user experience.
