The Optin Form block allows you to collect names and email addresses from visitors interested in receiving updates, news, and offers from your site. Add it to any SeedProd landing page or template to start building your subscriber list immediately.
The block includes customizable Name and Email fields, a submit button with full styling control, a success action to show a message or redirect after submission, and built-in integration with popular third-party email marketing platforms.
Adding the Optin Form Block to Your Pages
Follow these steps to add an Optin Form block to your SeedProd page:
Step 1: Add the Block
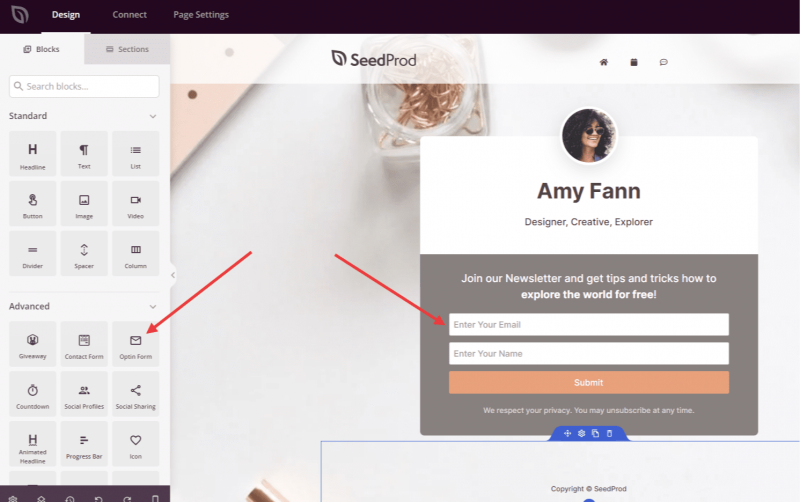
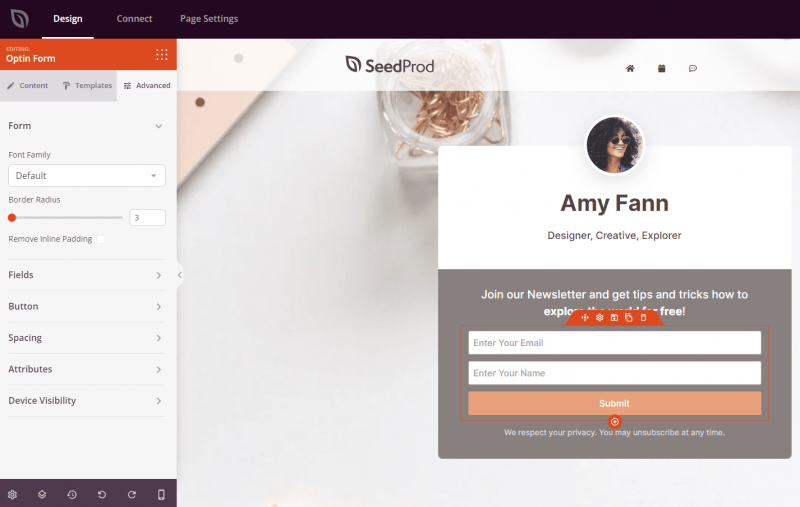
Under Design > Blocks, drag and drop the Optin Form block into the desired section of your page.
Step 2: Configure Content Settings
Once added, click on the Optin Form block to open its settings. The Content tab is organized into three sections: Fields, Submit Button, and Success Action.
Fields:
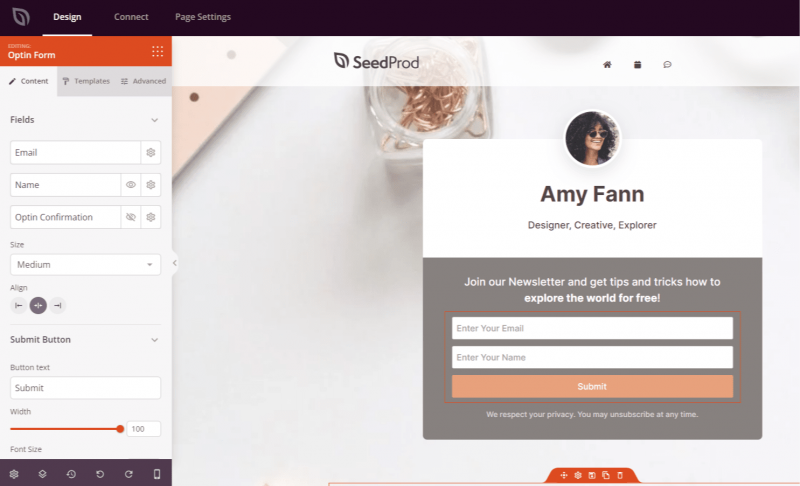
- Email / Name / Optin Confirmation fields: Each field is listed as a draggable row. Click the settings icon on a field row to expand its individual settings. You can customize the Label (the text displayed above the input) and the Width (how wide the field is as a percentage of the form, from 10 to 100%). The Name field also has a Required toggle to make it mandatory. Use the show/hide eye icon to display or hide the Name and Optin Confirmation fields from your form. The Optin Confirmation field is hidden by default — enable it to add a GDPR-style consent checkbox that visitors must check before submitting.
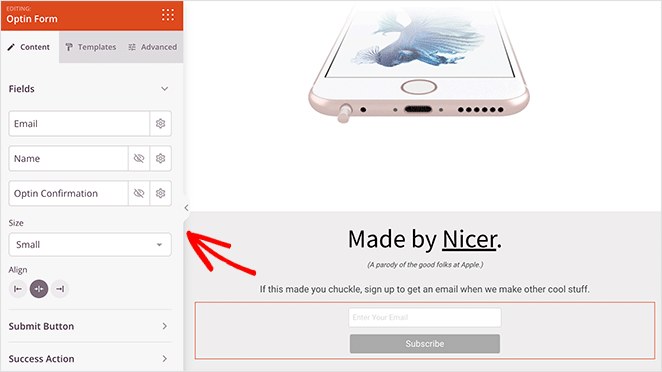
- Size: Set the overall size of the input fields — Small, Medium, or Large.
- Alignment: Set the horizontal alignment of the entire form — Left, Center, or Right.
Submit Button:
- Button Text: Customize the label displayed on the submit button.
- Width: Set the button width as a percentage of the form from 10 to 100%.
- Font Size: Set the font size of the button text from 0 to 72px.
- Background Color: Set the background color of the submit button.
Success Action:
- Action To Take: Choose what happens after a successful form submission — Show Message displays a custom thank you message in place of the form, or Redirect sends the visitor to a URL of your choice.
- Message: Enter the thank you message to display after submission (available when Show Message is selected). Supports rich text formatting.
- Redirect URL: Enter the URL to redirect the visitor to after submission (available when Redirect is selected).
Step 2a: Choose a Template Style
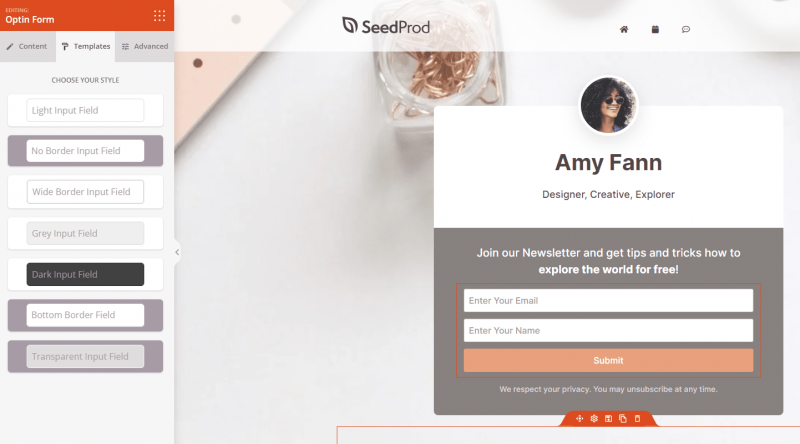
In the Templates tab, you can select from pre-designed input field styles to quickly change the visual appearance of your Optin Form. Click any template to instantly apply it.
- Available styles: Choose from 7 different template designs — Light, No Border, Wide Border, Grey, Dark, Bottom Border, and Transparent input field styles.
Step 3: Customize the Design
In the Advanced tab, you can fine-tune the typography, field colors, button styling, and spacing of your Optin Form block.
Form:
- Font Family: Choose the font family and font variant applied to all form labels and field text.
- Border Radius: Set the corner radius of all input fields from 0 to 100px to control how rounded or square they appear.
- Remove Inline Padding: Check this box to remove the default internal padding between the form fields and the block wrapper, allowing the form to sit flush with its container.
Fields:
- Field Background Color: Set the background color of the input fields.
- Field Text Color: Set the text color of the text typed into the input fields.
- Field Border Color: Set the border color of the input fields.
- Field Border Width: Set the border width for each side of the input fields (Top, Right, Bottom, Left) independently.
Button:
- Button Style: Choose the visual style of the submit button — Flat, Ghost, 2D, or Vintage.
- Before Text Icon: Add a Font Awesome icon that appears before the button label text.
- After Text Icon: Add a Font Awesome icon that appears after the button label text.
Spacing:
- Margin: Control the outer spacing around your Optin Form block (Top, Right, Bottom, Left). This determines how much space appears between the form and surrounding elements on the page.
- Padding: Adjust the inner spacing within your Optin Form block (Top, Right, Bottom, Left). This creates breathing room between the form and the block edges.
Attributes:
- CSS ID: Displays the auto-generated unique identifier for your Optin Form block. This ID is created automatically by SeedProd for custom styling or JavaScript targeting.
- Custom Class: Add custom CSS classes to apply specific styles from your theme or custom CSS.
- Custom Attributes: Add any HTML attributes to the block wrapper element. Enter each attribute on a new line using the format: attribute-name|value.
Device Visibility:
- Hide on Desktop: Hide the Optin Form block on desktop screens.
- Hide on Tablet: Hide the Optin Form block on tablet devices.
- Hide on Mobile: Hide the Optin Form block on mobile devices.
Animation Effects:
- Entrance Animation: Choose from various animation effects that play when the Optin Form block scrolls into view. Options include Bounce, Fade In, Zoom In, Rotate In, and many more.
Step 4: Save Your Changes
Once you have finished configuring the Optin Form block and customizing its appearance, make sure to save your work.
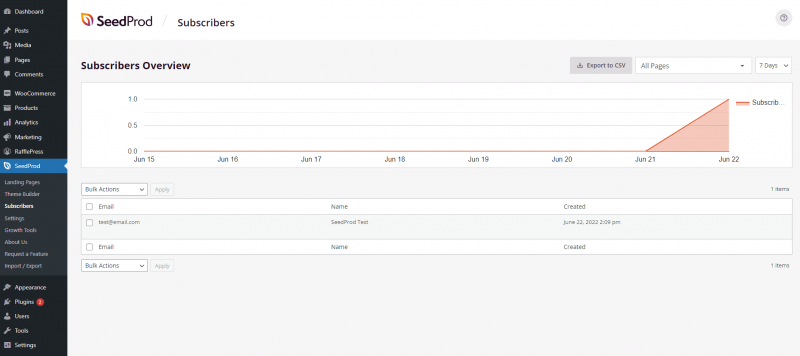
Optin Form Submissions
By default, all Optin Form submissions are saved in the Subscribers section under SeedProd > Subscribers. You can view, export, and manage your collected subscriber data from there.
Note: By default, the Optin Form block does not send email notifications when a new subscriber submits the form. If you want to receive notifications, consider connecting an email marketing integration (see below).
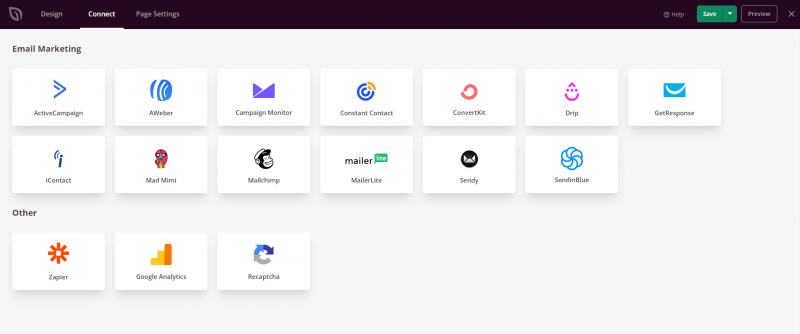
Connect the Optin Form with Email Marketing Integrations
You can integrate the Optin Form block with third-party email marketing platforms in the Connect section of your SeedProd page settings. This allows new subscribers to be automatically added to your email lists in services like Mailchimp, AWeber, ConvertKit, ActiveCampaign, and more.
Note: Email Marketing Integrations are available in the Pro, Plus, and Elite license plans. See our available email integrations for the full list of supported platforms.
You’ve successfully added an Optin Form block to your page! Use it to start collecting subscribers, enhancing your website’s engagement and building an audience you can market to directly. Experiment with field layouts, button styles, and template presets to create a form that matches your brand and converts visitors into subscribers.