A custom 404 page helps visitors stay on your site when they land on a broken or missing link. Instead of showing a generic browser error, you can display a branded page that matches your site’s design and guides visitors back to the right place.
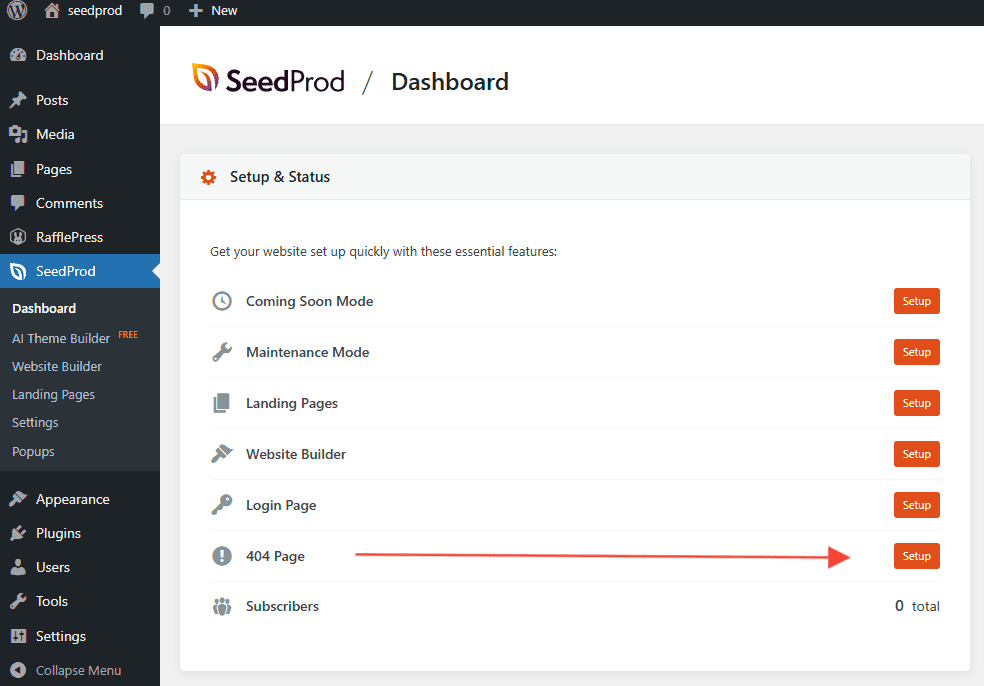
Step 1: Open the 404 Page Setup
In your WordPress admin, go to the SeedProd Dashboard and click the Set Up a 404 Page button next to the 404 Page option.
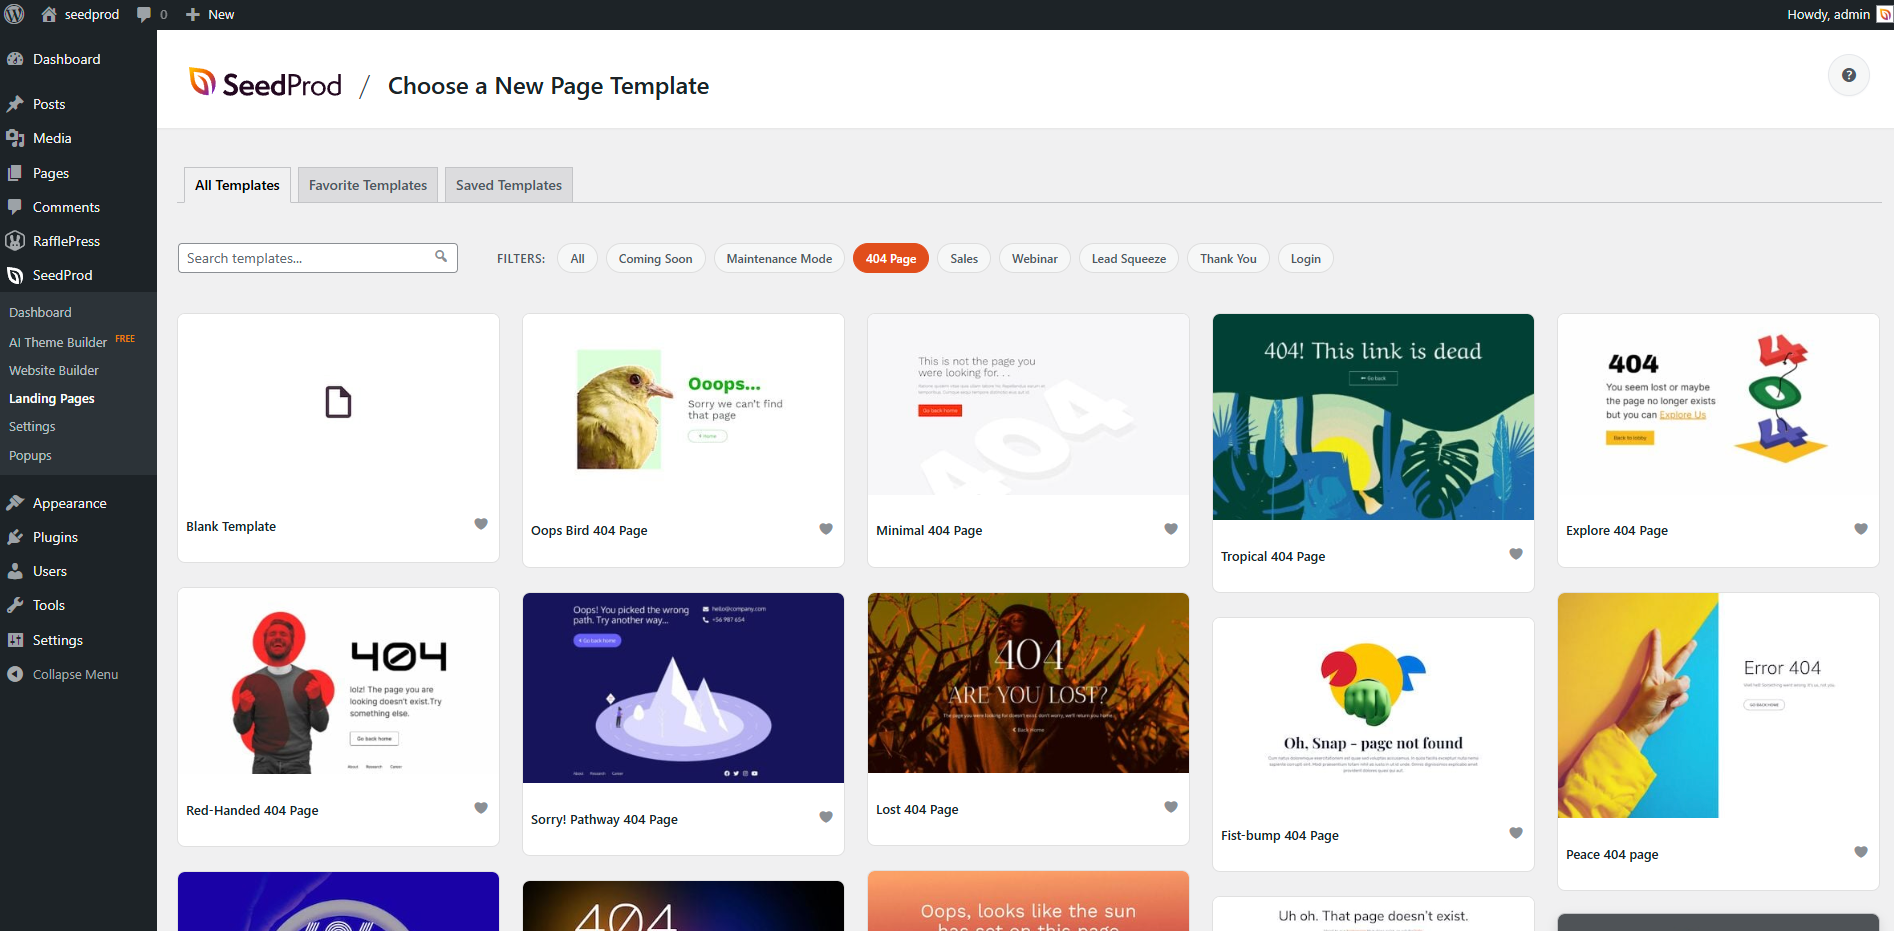
Step 2: Choose a Template
Browse the available 404 page templates and click one to import it. You can also choose a blank template to start from scratch.
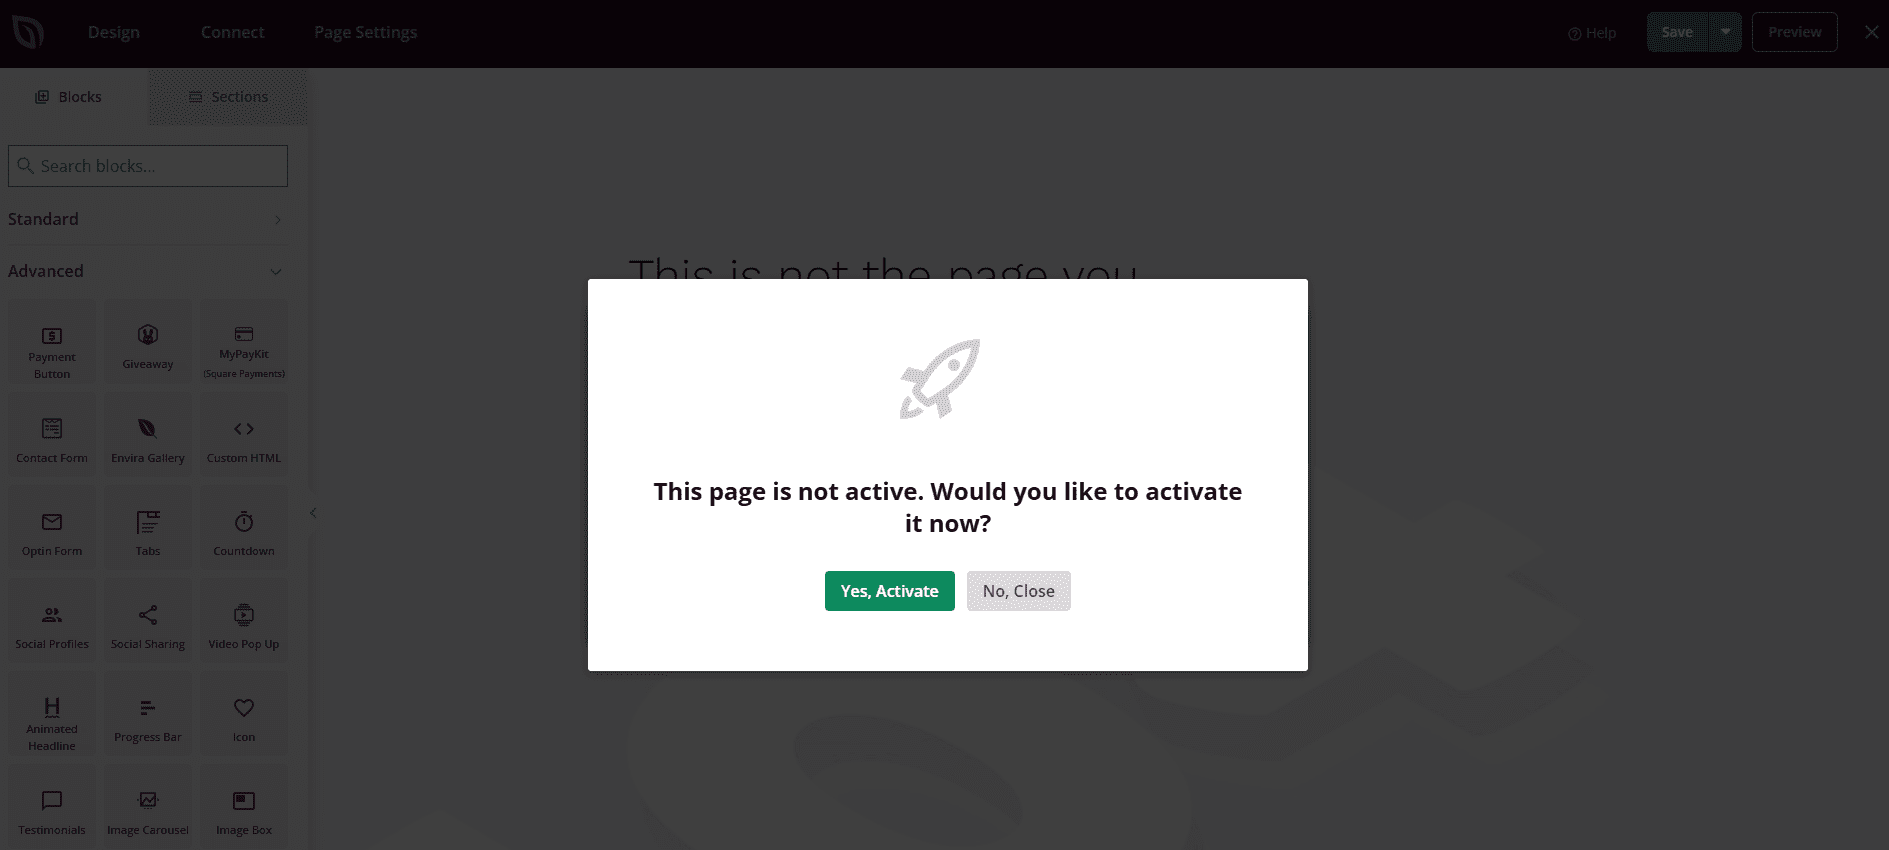
Step 3: Design, Save, and Activate
Customize your 404 page in the SeedProd drag-and-drop builder. Consider adding a search bar, links to popular pages, or a brief message directing visitors back to your homepage. When you are satisfied with the design, click Save.
Then return to the SeedProd Dashboard and toggle the 404 Page switch to the active position to make it live. Any visitor who lands on a missing or invalid URL on your site will now see your custom 404 page.
Your custom 404 page is now live. You can return to the SeedProd Dashboard or the page builder at any time to update the design. To disable it, toggle the 404 Page switch off from the SeedProd Dashboard.