SeedProd supports custom fonts using the CSS3 @font-face method. This lets you load any font file hosted on your server and apply it to text elements across your pages and templates.
Step 1: Prepare Your Font Files
Download your desired font and convert it to web-compatible formats. To ensure your font displays correctly across all browsers and devices, generate the following file types using the FontSquirrel Webfont Generator:
- WOFF: Web Open Font Format, suitable for web pages.
- WOFF2: An improved version of WOFF with better compression.
- TTF: TrueType font, widely supported on Mac and Windows.
- SVG: Scalable Vector Graphics font format.
- EOT: Embedded OpenType, used for web page compatibility.
- OTF: OpenType format, supported across most platforms.
Step 2: Upload Your Font Files to WordPress
Upload your font files to your WordPress hosting server. You can do this using FTP, your hosting control panel’s File Manager, or a File Manager plugin. Choose any folder within your /wp-content/ directory as the upload destination — for example, /wp-content/fonts/.
Make a note of the full URL path to each uploaded font file. You will need these URLs in the next step.
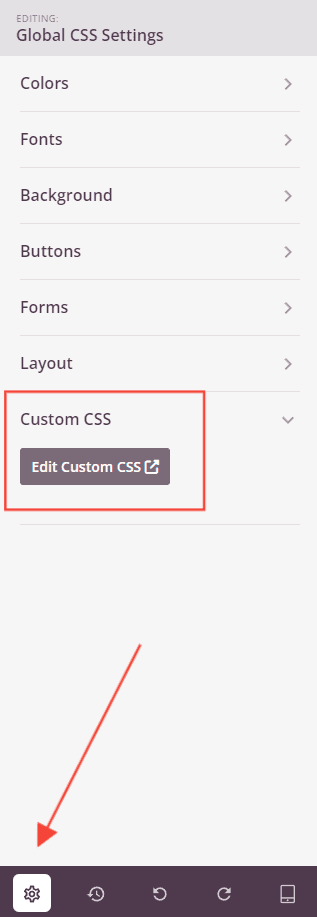
Step 3: Register the Font in SeedProd’s Global CSS
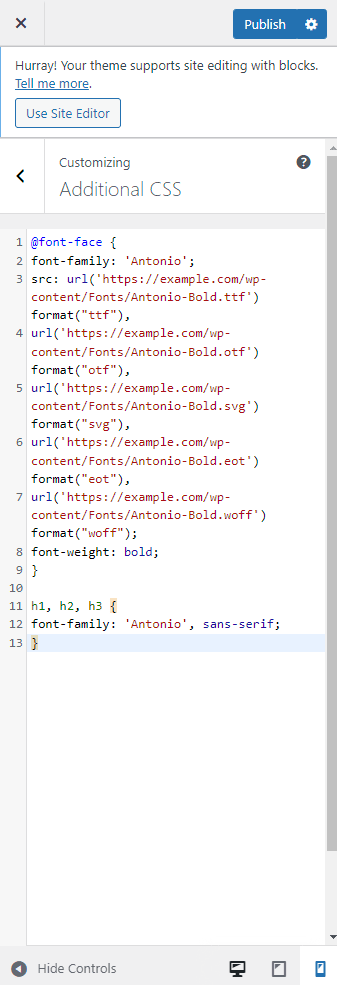
Open the SeedProd editor and go to Global Settings > Custom CSS. Add an @font-face rule that references your uploaded font files. Replace YourFontName and the example URLs with your actual font name and file paths.
@font-face {
  font-family: 'YourFontName';
  src: url('https://example.com/wp-content/fonts/YourFont.woff2') format('woff2'),
       url('https://example.com/wp-content/fonts/YourFont.woff') format('woff'),
       url('https://example.com/wp-content/fonts/YourFont.ttf') format('truetype'),
       url('https://example.com/wp-content/fonts/YourFont.otf') format('opentype'),
       url('https://example.com/wp-content/fonts/YourFont.svg') format('svg'),
       url('https://example.com/wp-content/fonts/YourFont.eot') format('embedded-opentype');
}
Step 4: Apply the Font to Elements
Once the font is registered, apply it to any elements on your page by adding a second CSS rule in the same Custom CSS section. The example below applies the font to all heading tags — adjust the selectors to target whichever elements you need.
h1, h2, h3 {
  font-family: 'YourFontName', sans-serif;
}
Your custom font is now available across your SeedProd pages. You can use additional CSS selectors to apply the font to paragraphs, buttons, navigation links, or any other elements to keep your typography consistent throughout your site.