The Image block allows you to add images to any SeedProd page. This block supports uploading images from your media library, entering a direct URL, or using AI-generated images — giving you flexible options for sourcing visuals for your pages.
Beyond simply displaying an image, the block includes link options, image sizing controls, border styling, shadow effects, and rotation — making it a fully featured image element for any layout.
Adding the Image Block to Your Pages
Follow these steps to add an Image block to your SeedProd page:
Step 1: Add the Block
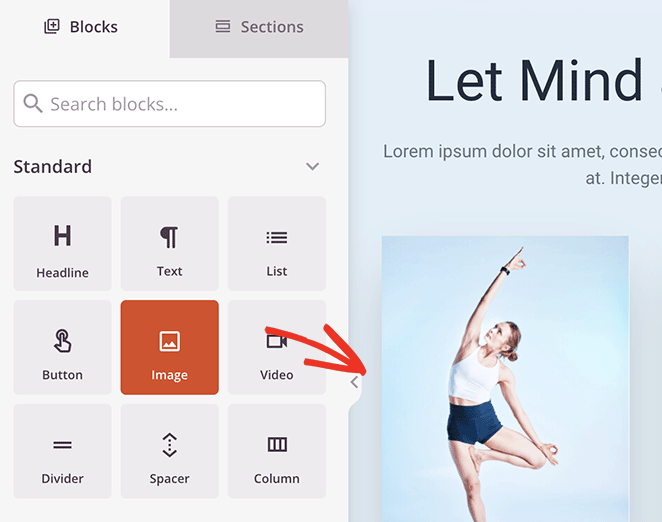
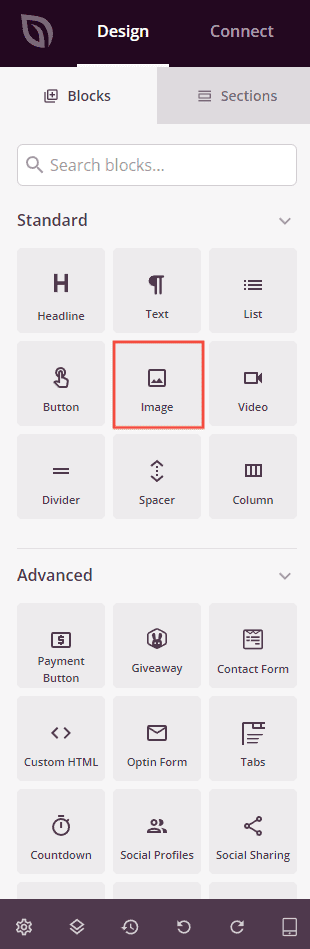
Under Design > Blocks, drag and drop the Image block into the desired section of your page.
Step 2: Configure Content Settings
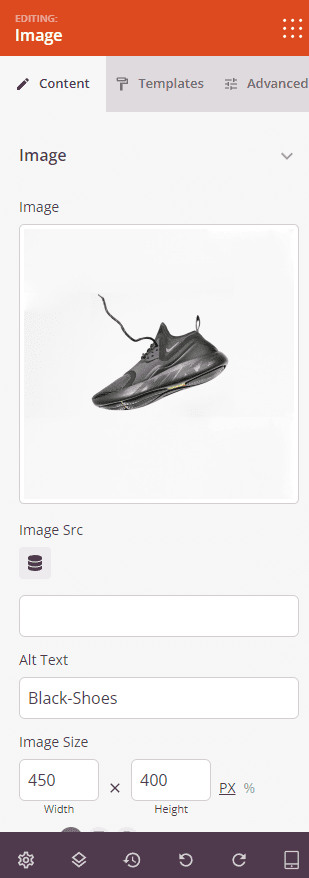
Once added, click on the Image block to open its settings. In the Content tab, configure the image source, size, alignment, and link.
Image:
- Image: Upload or select an image from your WordPress media library. The block also includes an AI image generation option to create images using OpenAI directly from the editor.
- Image Src: Manually enter a direct image URL, or use the Dynamic Tags control to pull in a dynamic media source such as a custom field value.
- Alt Text: Enter descriptive alternative text for the image to improve accessibility and SEO.
- Image Size: Set the width and height of the image in pixels (px) or as a percentage (%). Leave either field blank to maintain the image’s natural aspect ratio.
- Alignment: Set the horizontal alignment of the image within its section — Left, Center, or Right. Supports per-device values for desktop, tablet, and mobile.
- Link Type: Choose how the image behaves when clicked — Custom Link opens a URL you specify, or Media – Lightbox opens the full-size image in an overlay lightbox.
- Link: Enter the destination URL for the image link (visible when Custom Link is selected). Click the settings icon to reveal additional link options.
- Open In New Window: Check this option to open the linked URL in a new browser tab.
- No Follow: Check this option to add a
rel="nofollow"attribute to the link, telling search engines not to pass link equity to the destination.
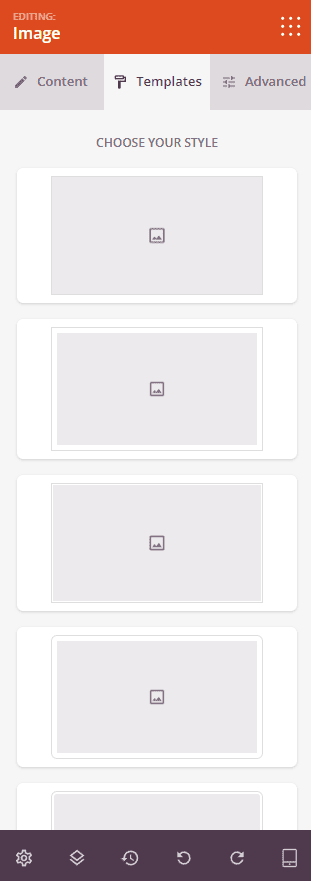
Step 3: Choose a Template (Optional)
The Templates tab offers a selection of pre-designed image style presets. Click any template thumbnail to instantly apply a combination of border, shadow, and styling settings to your image. This is a quick way to give your images a polished, consistent look without manually configuring each style option.
Step 4: Customize the Design
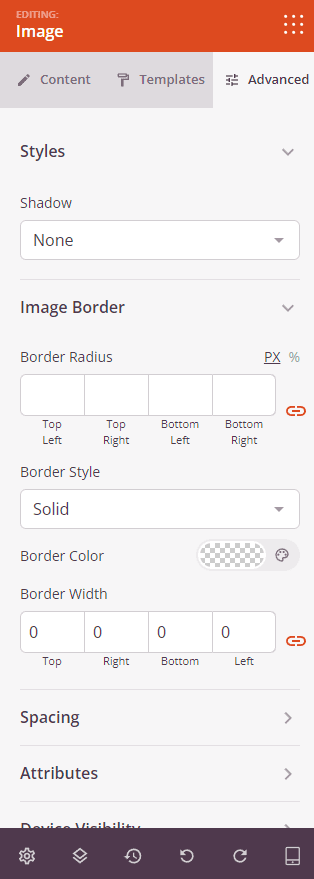
In the Advanced tab, you can customize the visual appearance and spacing of your Image block.
Styles:
- Object Fit: Choose how the image fills its container when a height is specified — Fill, None, Cover, or Contain. This option appears only when a height value is set.
- Shadow: Add a drop shadow behind the image. Choose from None, Hairline, Small, Medium, Large, X Large, or 2X Large.
- Rotate Image: Rotate the image from 0 to 360 degrees using the slider.
- Image Border: Add a border around the image. Set the Border Style (Solid, Dotted, or Dashed), Border Color, Border Width (Top, Right, Bottom, Left independently), and Border Radius to round the corners — with a choice of px or % units.
Spacing:
- Margin: Control the outer spacing around your Image block (Top, Right, Bottom, Left). Supports per-device values for desktop, tablet, and mobile.
- Padding: Adjust the inner spacing within your Image block (Top, Right, Bottom, Left). Supports per-device values for desktop, tablet, and mobile.
Attributes:
- CSS ID: Displays the auto-generated unique identifier for your Image block, created automatically by SeedProd for custom styling or JavaScript targeting.
- Custom Class: Add custom CSS classes to apply specific styles from your theme or custom CSS.
- Custom Attributes: Add any HTML attributes to the block wrapper element. Enter each attribute on a new line using the format: attribute-name|value.
Device Visibility:
- Hide on Desktop: Hide the Image block on desktop screens.
- Hide on Tablet: Hide the Image block on tablet devices.
- Hide on Mobile: Hide the Image block on mobile devices.
Animation Effects:
- Entrance Animation: Choose an animation effect that plays when the Image block scrolls into view, such as Bounce, Fade In, Zoom In, Rotate In, and many more.
Step 5: Save Your Changes
Once you have finished configuring the Image block and customizing its appearance, make sure to save your work.
You’ve successfully added an Image block to your page! Images are one of the most impactful elements on any landing page — they set the tone, build trust, and direct attention. Use the Templates tab for quick styling presets, or fine-tune borders, shadows, and rotation in the Advanced tab to create exactly the look you need.