The Countdown block allows you to add animated countdown timers to your pages without needing custom code or plugins. Whether you’re building anticipation for a product launch, a flash sale, or a live event, the Countdown block creates a compelling sense of urgency that motivates visitors to take action.
You can choose between a fixed date countdown that ends at a specific moment, or an evergreen timer that resets for each visitor — delivering a personalized, always-active urgency experience no matter when someone lands on your page.

Adding the Countdown Block to Your Pages
Follow these steps to add a Countdown block to your SeedProd page:
Step 1: Add the Block
Under Design > Blocks, drag and drop the Countdown block into the desired section of your page.
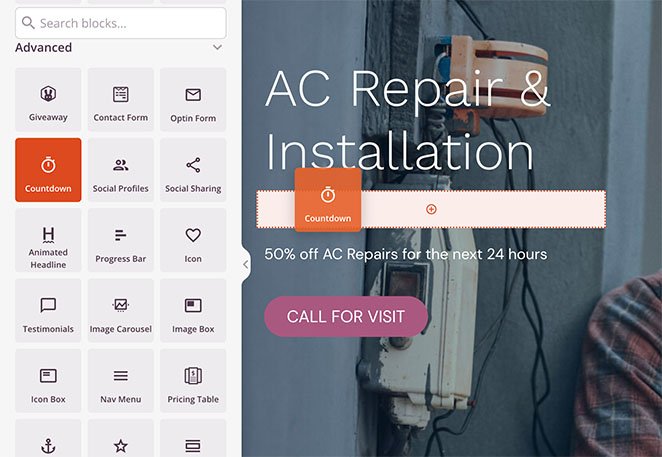
Drag the Countdown block from the Blocks panel and drop it into your desired page section.
Step 2: Configure Content Settings
Once added, click on the Countdown block to open its settings. In the Content tab, choose your timer type and configure its behavior and labels.
Timer Type:
- DateTime Countdown: Counts down to a fixed date and time. Ideal for product launches, flash sales, or events with a specific end date — all visitors see the same timer regardless of when they arrive
- Visitor Timer (Evergreen): Counts down from a set duration that resets for each new visitor. Uses cookies to maintain consistency across page refreshes, making every visitor feel the offer is personally time-limited
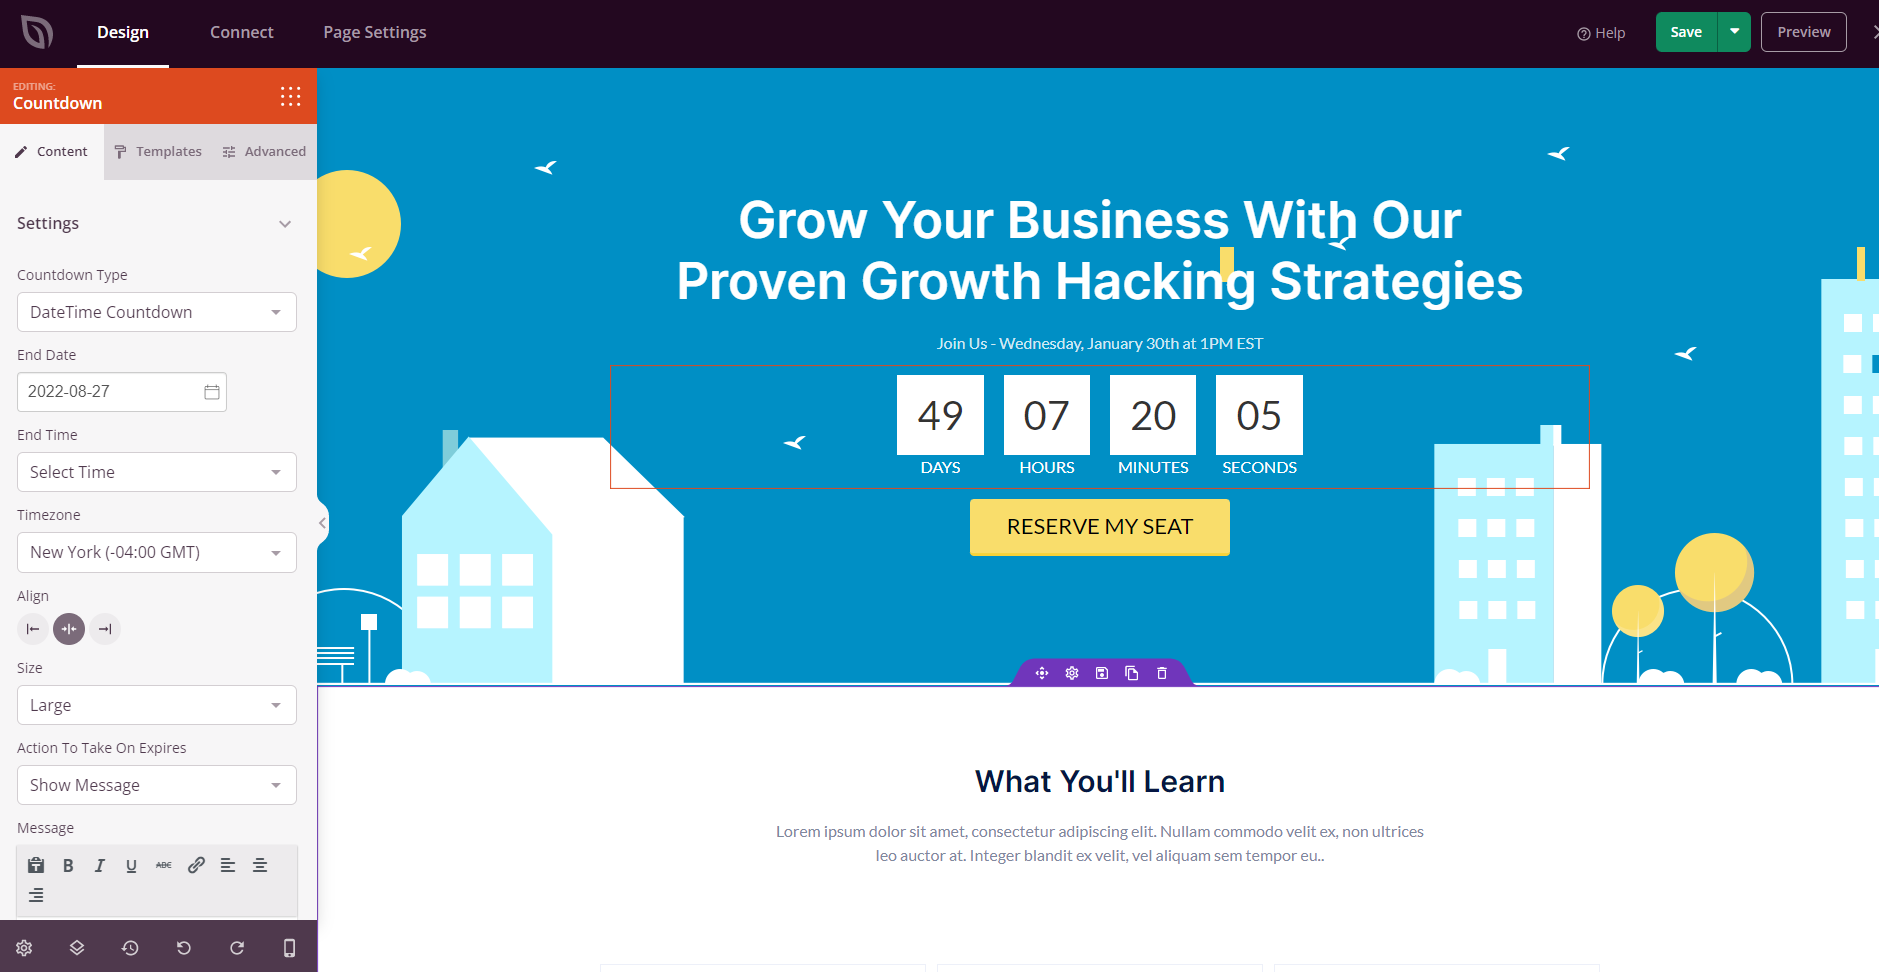
The DateTime Countdown lets you target a specific end date and time for your timer.
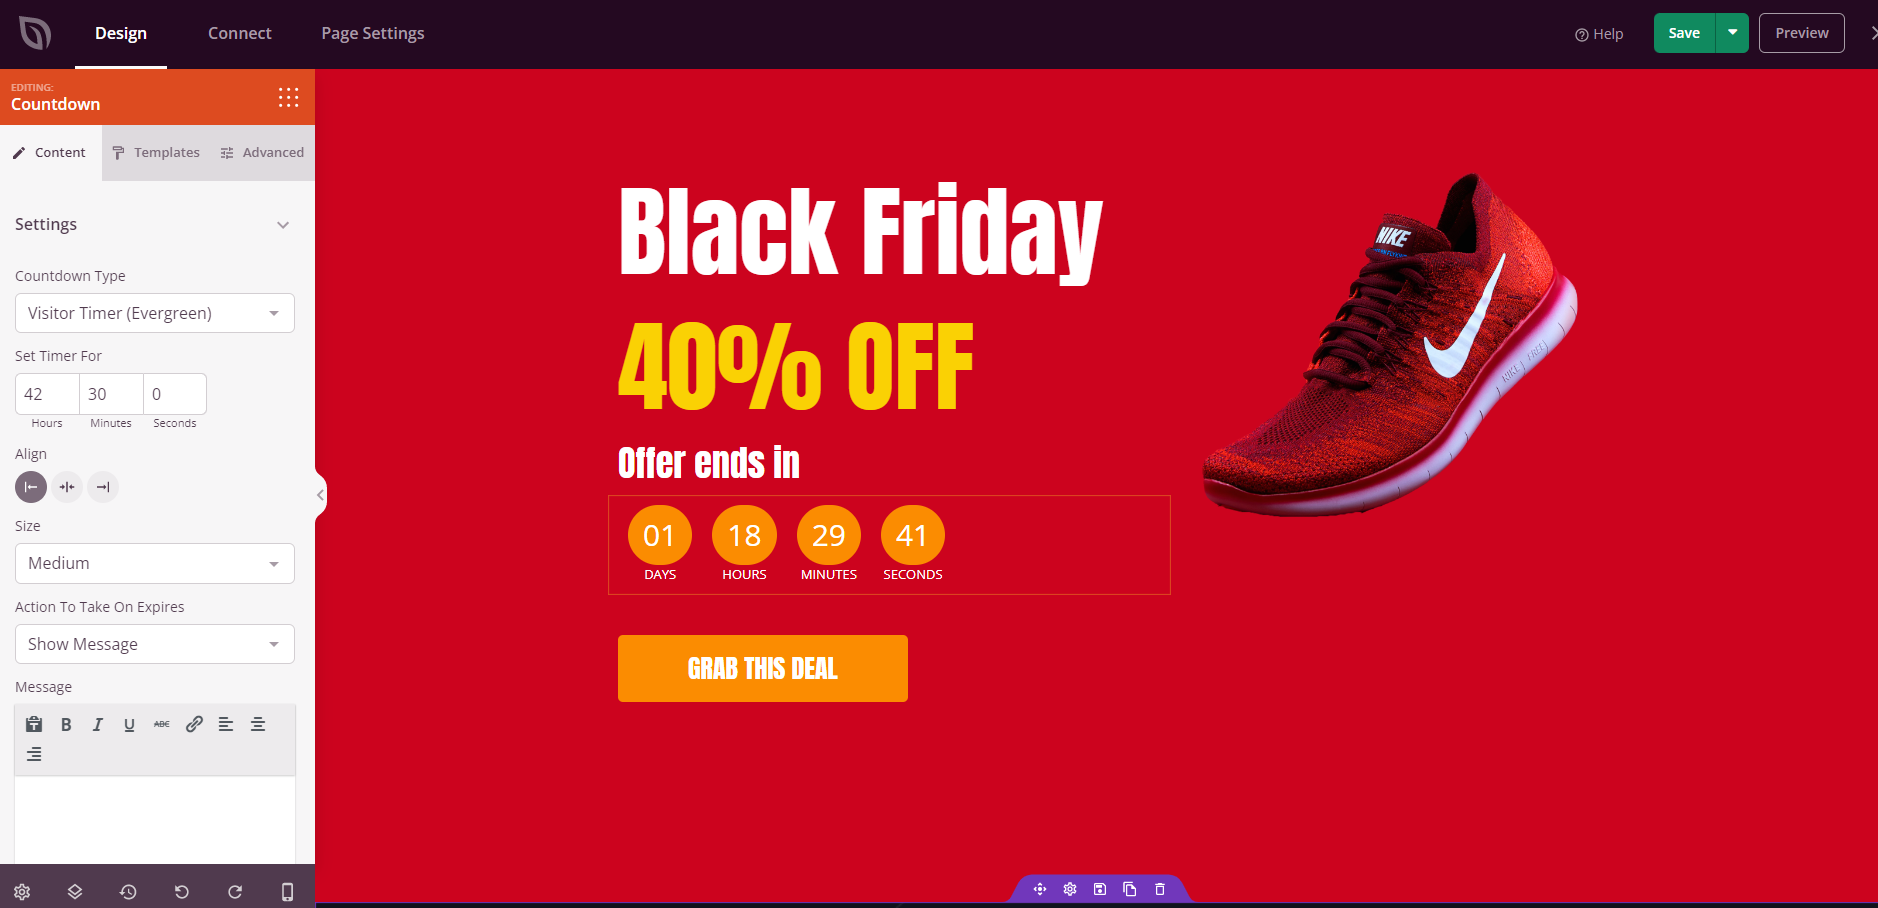
The Visitor Timer (Evergreen) resets the countdown duration for each new visitor using cookies.
Timer Settings:
- End Date & Time: (DateTime only) Set the exact date and time the countdown expires
- Timezone: (DateTime only) Choose the timezone for the end time to ensure accuracy for your target audience
- Hours / Minutes / Seconds: (Evergreen only) Set the countdown duration each visitor will see when they first arrive
- Size: Set the overall size of the countdown timer — Tiny, Small, Medium, or Large
Action on Expiry:
- Show Message: Display a custom message once the timer reaches zero, such as an “offer expired” or thank you notice
- Redirect: Automatically send visitors to a different page when the countdown ends, such as a checkout page or a post-sale landing page
- Restart: (Evergreen only) Restart the timer from the beginning once it reaches zero
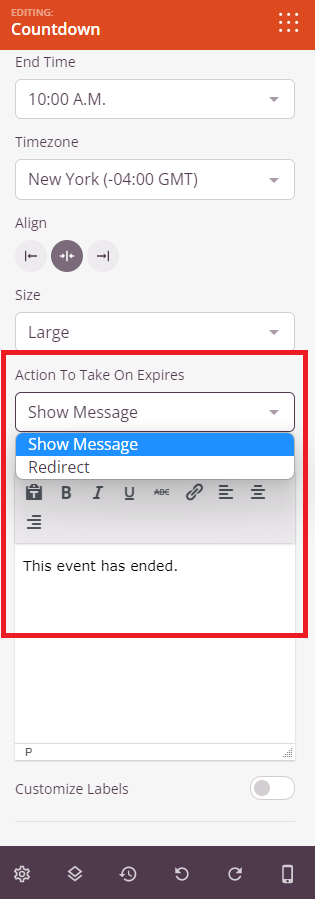
Choose what happens when the timer hits zero — display a custom message, redirect visitors to another URL, or restart the timer.
Customize Labels:
- Day Label: Customize the text displayed beneath the days unit (default: “Days”)
- Hour Label: Customize the text displayed beneath the hours unit (default: “Hours”)
- Minute Label: Customize the text displayed beneath the minutes unit (default: “Minutes”)
- Second Label: Customize the text displayed beneath the seconds unit (default: “Seconds”)
Step 3: Choose a Template Style
In the Templates tab, you can select from pre-designed countdown styles to quickly change the overall look of your timer without adjusting individual settings.
- Predefined Templates: Choose from a variety of ready-made designs, each with unique color schemes, box styles, and layouts. Click any template to instantly apply it to your Countdown block
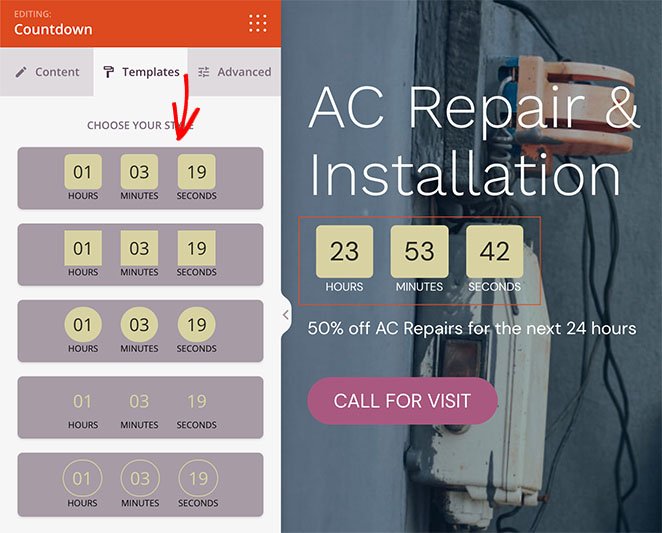
Browse and apply pre-designed countdown styles from the Templates tab.
Step 4: Customize the Design
In the Advanced tab, you can fully customize the visual appearance and layout of your Countdown block.
Styles:
- Typography: Click Edit to open the full typography panel. Control the font family, size (desktop, tablet, and mobile), font weight, italic, underline, letter case, line height, and letter spacing for the countdown text
- Highlight Color: Set the background color of the individual time unit boxes
- Label Color: Set the color of the Days, Hours, Minutes, and Seconds labels beneath each number
- Space Between: Control the gap between each time unit box using a slider
- Border Radius: Round the corners of the time unit boxes using a slider
- Shadow: Add a shadow to the countdown boxes. Choose from preset sizes: None, Hairline, Small, Medium, Large, X Large, 2X Large, or Custom
Spacing:
- Margin: Control the outer spacing around your Countdown block (Top, Right, Bottom, Left). This determines how much space appears between the timer and surrounding elements
- Padding: Adjust the inner spacing within your Countdown block (Top, Right, Bottom, Left). This creates breathing room between the timer and the block edges
Attributes:
- CSS ID: Displays the auto-generated unique identifier for your Countdown block. This ID is created automatically by SeedProd for custom styling or JavaScript targeting
- Custom Class: Add custom CSS classes to apply specific styles from your theme or custom CSS
- Custom Attributes: Add any HTML attributes to the countdown wrapper element. Enter each attribute on a new line using the format: attribute-name|value (e.g., data-timer|true)
Device Visibility:
- Hide on Desktop: Hide the Countdown block on desktop screens
- Hide on Tablet: Hide the Countdown block on tablet devices
- Hide on Mobile: Hide the Countdown block on mobile devices
Animation Effects:
- Entrance Animation: Choose from various animation effects that play when the Countdown block scrolls into view. Options include Bounce, Fade In, Zoom In, Rotate In, and many more. An entrance animation draws immediate attention to your timer the moment visitors encounter it
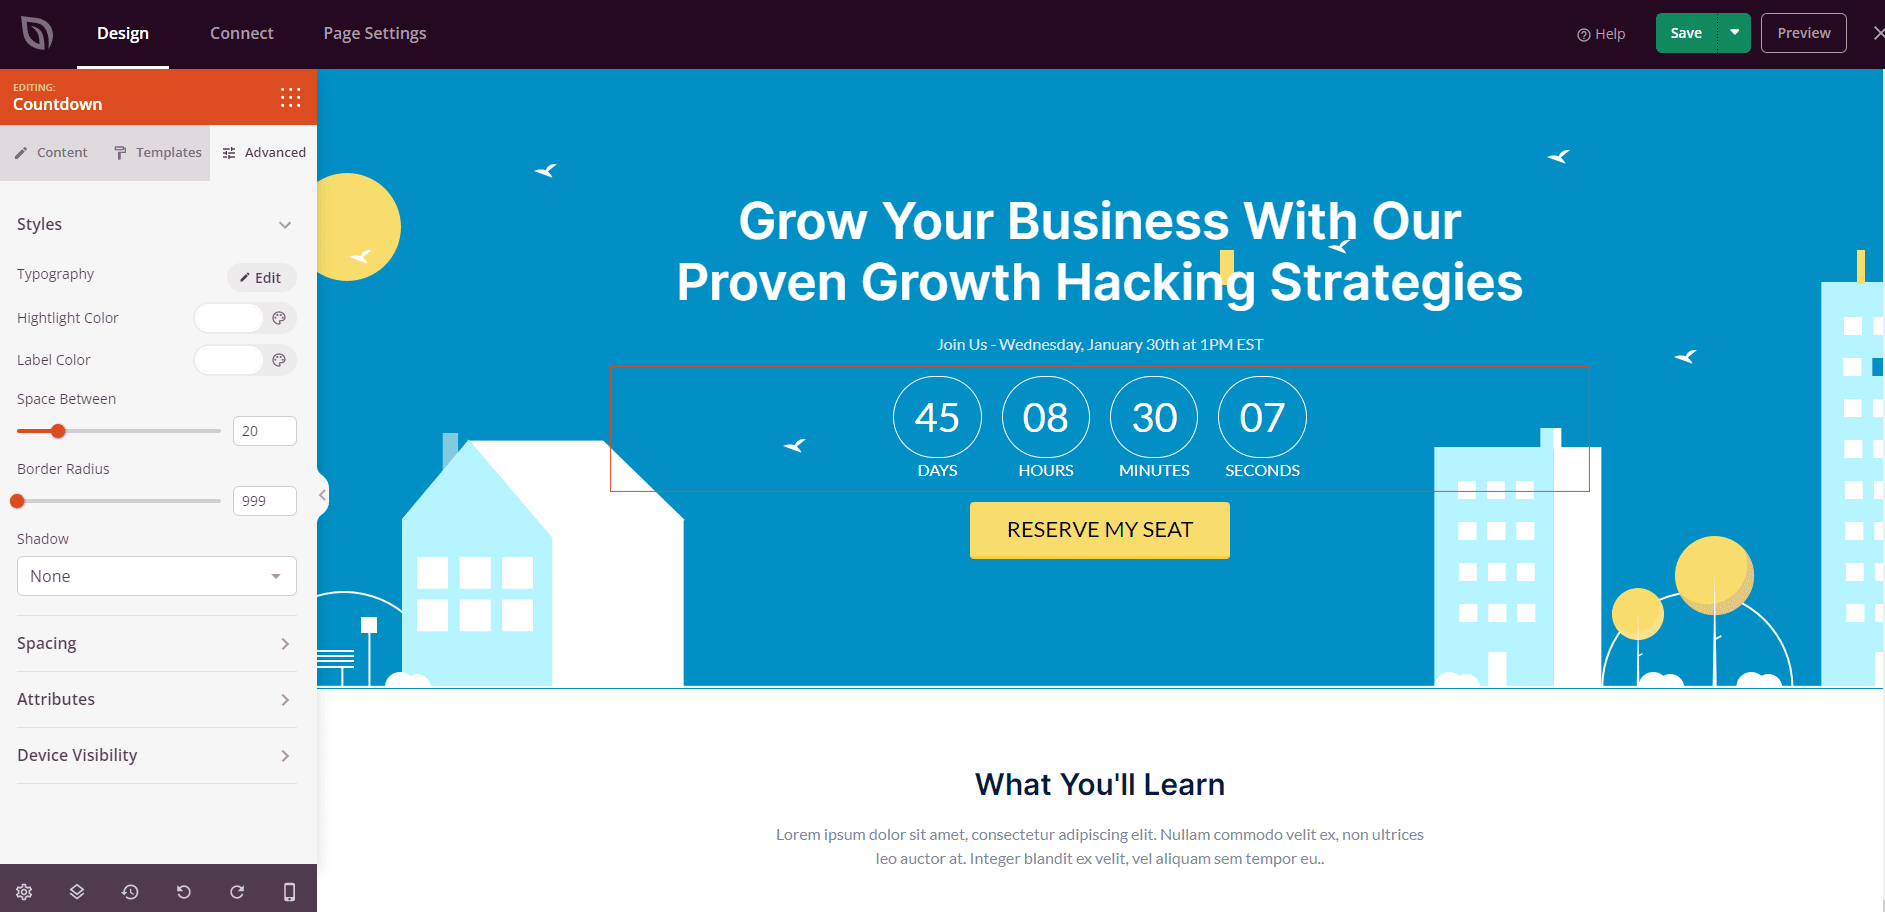
Use the Advanced tab to control styles, spacing, attributes, device visibility, and entrance animations for your Countdown block.
Step 5: Save Your Changes
Once you have finished configuring the Countdown block and customizing its appearance, make sure to save your work.
You’ve successfully added a Countdown block to your page! Countdown timers are one of the most effective tools for driving conversions — whether you’re promoting a limited-time offer, a product launch, or an upcoming event. Experiment with timer types, templates, and expiry actions to create an experience that keeps visitors engaged and motivated to act.