Sendy is a self-hosted email marketing platform that lets you send newsletters at a fraction of the cost of traditional services. This guide walks you through connecting Sendy to the SeedProd Optin Form block so new subscribers are automatically added to your Sendy account.
Step 1: Open the Connect Page
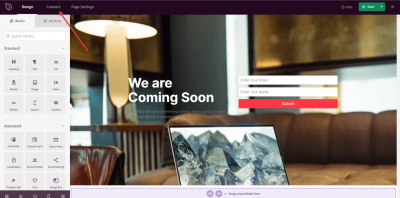
In your WordPress admin, go to the SeedProd Dashboard and click Connect.
Step 2: Select Sendy
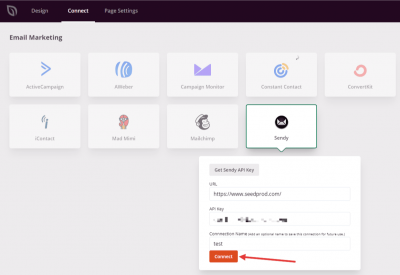
From the list of available email integrations, select Sendy and click Connect New Account.

Step 3: Find Your API Key and URL
Log in to your Sendy account and locate your API Key and Sendy URL. Your API Key can be found in your Sendy settings, and your Sendy URL is the domain where your Sendy installation is hosted. Copy both values for use in the next step.
Step 4: Enter Your Credentials and Connect
Back in SeedProd, paste your API Key and URL into the fields provided and click Connect.
Sendy is now connected to SeedProd. You can select your Sendy list in the Optin Form block settings so subscribers are automatically added when visitors submit the form on your page.