メンテナンスモードページを使用すると、サイトを完全にオフラインにすることなく、更新作業中に一時的に訪問者からサイトを非表示にすることができます。メンテナンスモードが有効になっている場合、SeedProdはGoogleが推奨するように、検索エンジンに自動的に503ステータスコードを返します。これにより、サイトが一時的に利用できないことを示し、後で再確認するように促します。ログイン中のユーザーは引き続き通常のサイトを表示できます。
ステップ1:メンテナンスモードの設定を開く
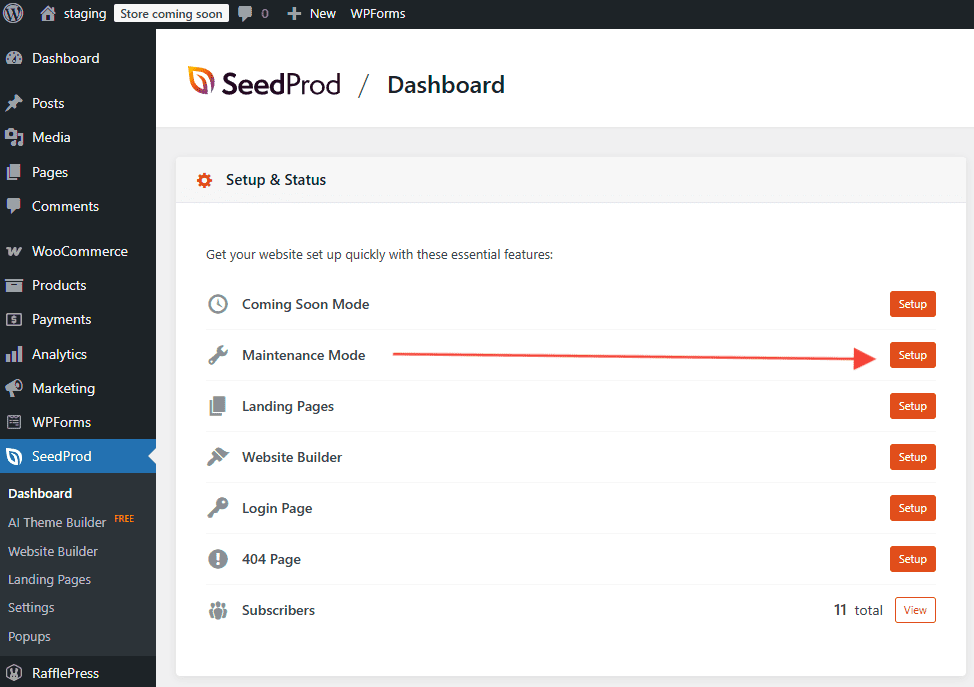
WordPress管理画面で、SeedProdダッシュボードに移動し、メンテナンスモードのトグルスイッチの隣にあるメンテナンスモードページの設定ボタンをクリックします。
ステップ2:テンプレートを選択する
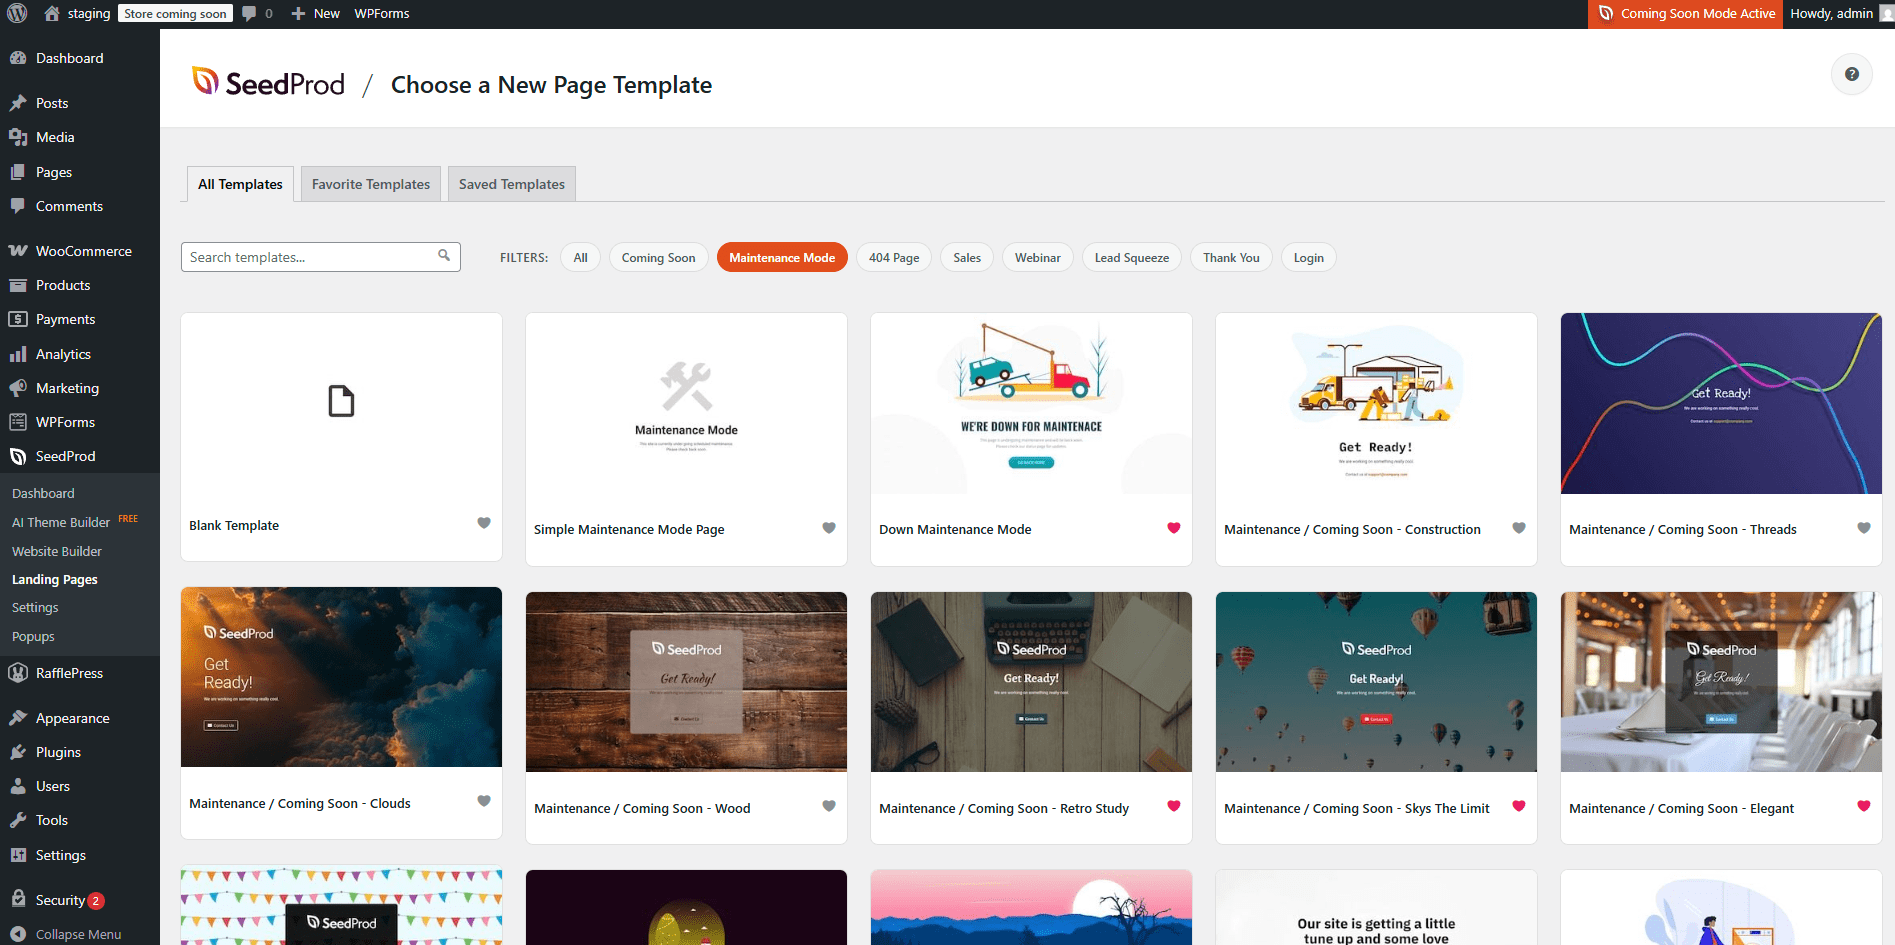
利用可能なメンテナンスモードテンプレートを閲覧し、インポートしたいものをクリックします。最初から始めるために空白のテンプレートを選択することもできます。
ステップ3:メンテナンスモードページのデザイン
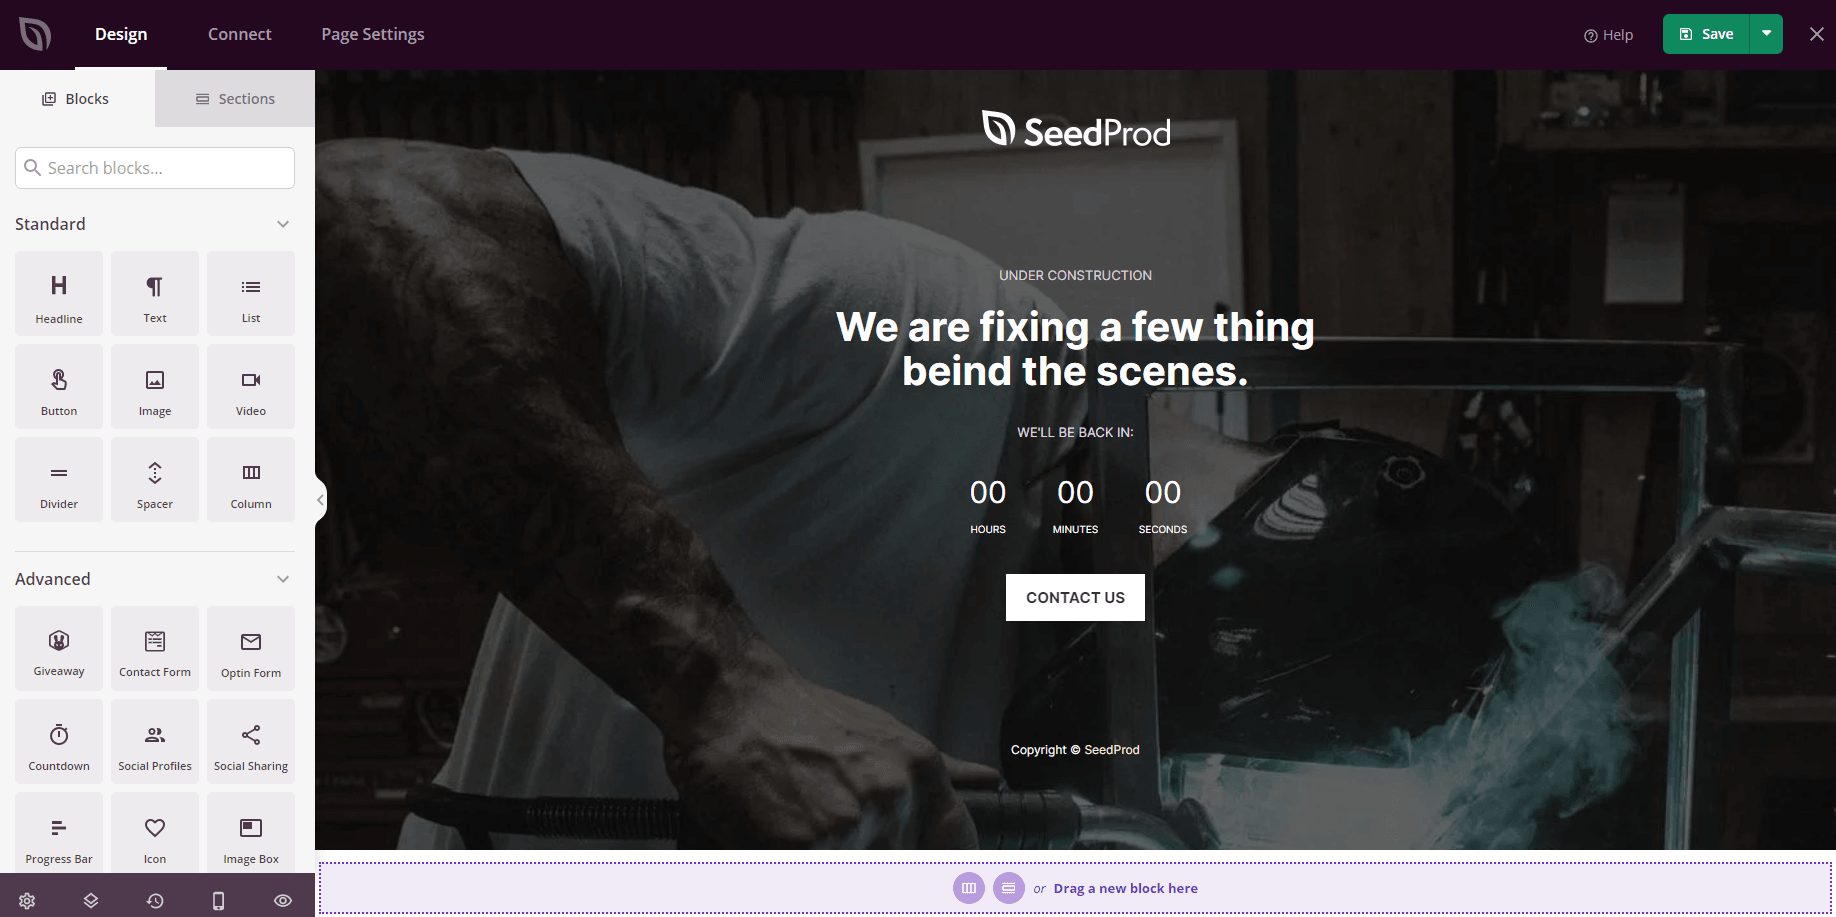
SeedProdのドラッグアンドドロップビルダーでメンテナンスモードページをカスタマイズします。ブランディング、推定復旧時間、連絡フォーム、または訪問者がサイトがいつ復旧するかを理解するのに役立つその他のコンテンツを追加します。デザインに満足したら、保存をクリックします。
ステップ4:メンテナンスモードのアクティブ化
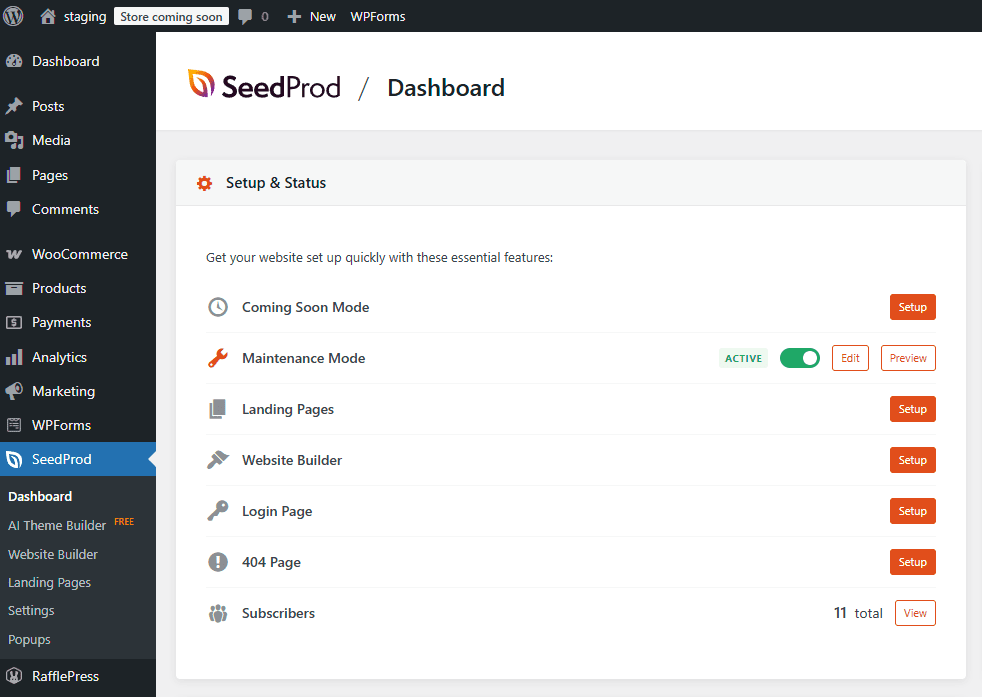
SeedProdダッシュボードに戻り、メンテナンスモードスイッチをアクティブな位置に切り替えます。メンテナンスモードページは、WordPressにログインしていないすべての訪問者に対して即座に公開されます。
特定のページの含める/除外する
メンテナンスモードがアクティブな間に特定のページにアクセスできるようにしたい、または非表示にしたい場合は、ページのΡ設定から制御できます。ページ設定 > アクセス制御 > URLの含める/除外に移動し、メンテナンスモードに含めるまたは除外するURLを構成します。

メンテナンスモードページが公開されました。サイトの更新を続けることができます。ログイン中のユーザーは通常のウェブサイトを表示し、訪問者はメンテナンスモードページを表示します。更新が完了したら、SeedProdダッシュボードに戻り、メンテナンスモードをオフに切り替えてサイトをオンラインに戻します。