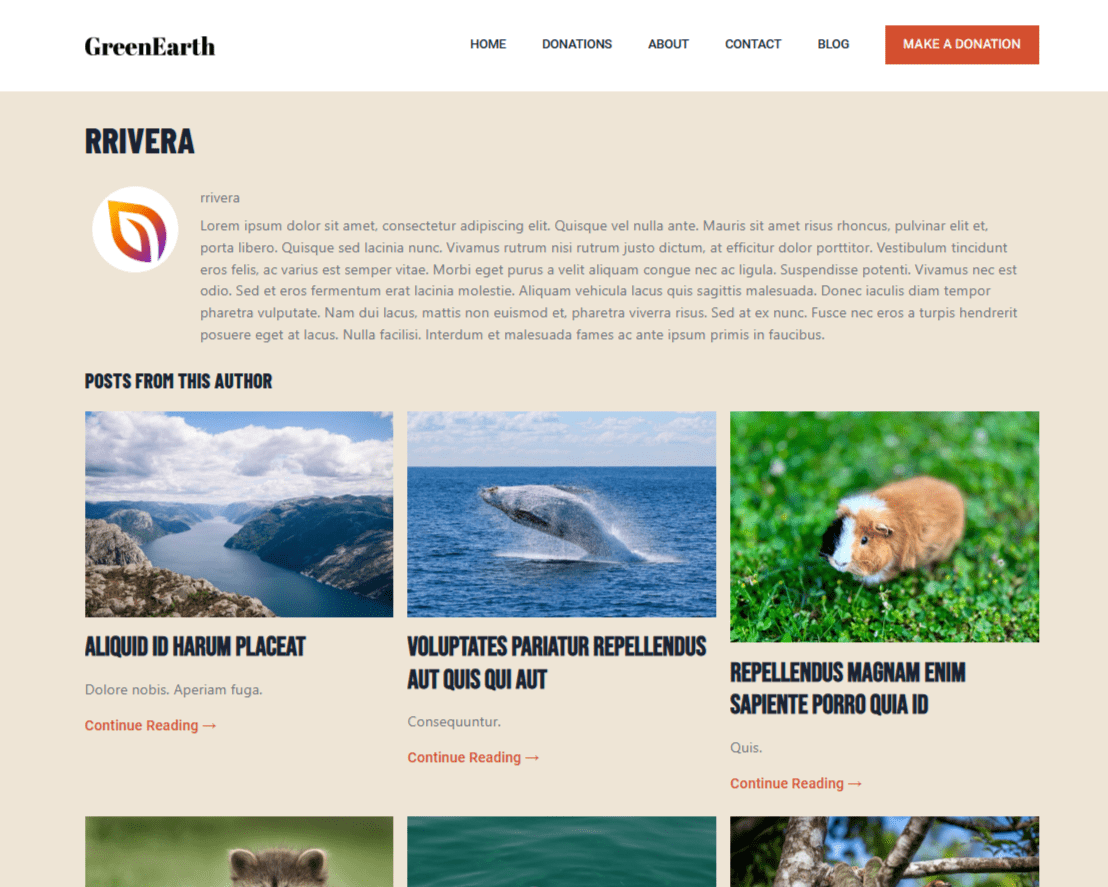
SeedProd Website Builder の著者テンプレートを使用すると、著者アーカイブページのデザインをカスタマイズできます。著者アーカイブページとは、特定の著者が書いた投稿のリストと、その著者の経歴やプロフィール詳細を表示するページのことです。
ステップ 1: 新しい著者テンプレートを追加する
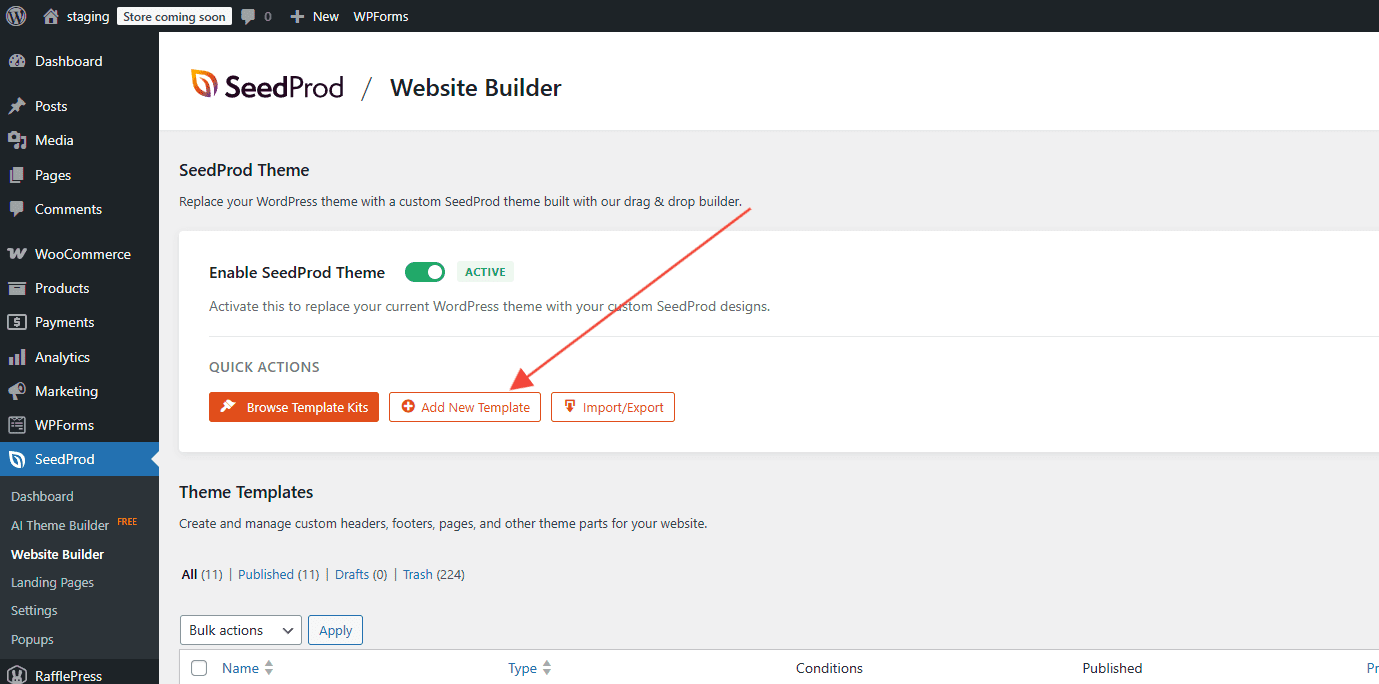
WordPress管理画面で、SeedProd > Website Builderに移動し、新しいテンプレートを追加をクリックします。
ステップ2: テンプレート設定を構成する
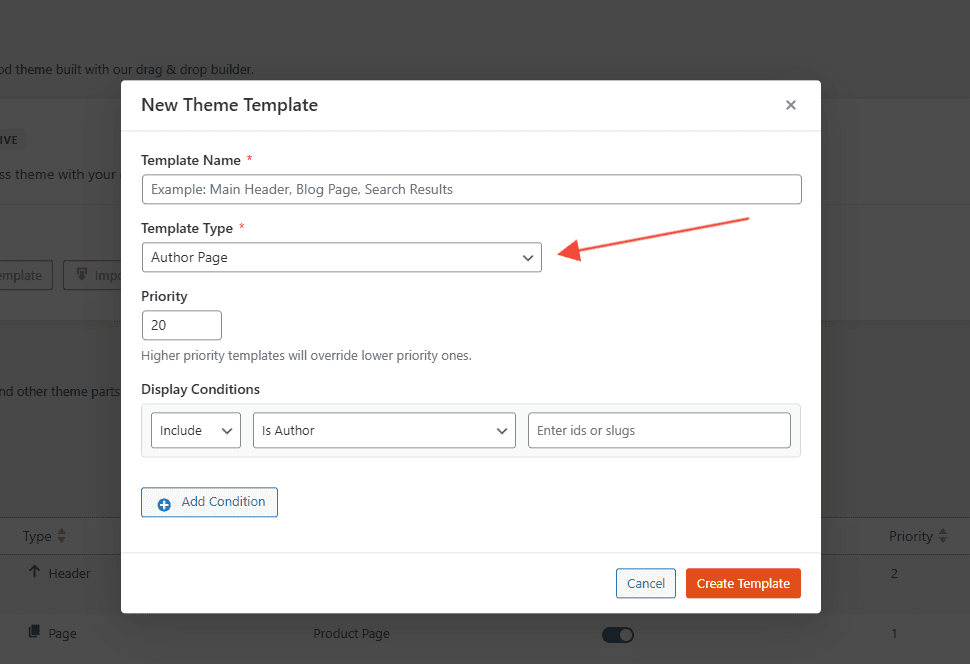
新しいテーマテンプレートポップアップで、次の設定を行います。
- 名前: このテンプレートを識別するための名前を入力します。
- タイプ: ドロップダウンから著者ページを選択します。
- 条件: 表示条件を設定します。たとえば、すべての著者に含めるか、特定の著者を対象にするかなどです。
- 優先度: 条件が重複した場合に適用されるテンプレートを管理するために優先度番号を設定します。
Create Template をクリックして、SeedProd ビルダーでテンプレートを開きます。
ステップ 3: 著者情報ブロックを追加する
ビルダー内で、著者の情報を表示するブロックを追加します。SeedProdでは、表示したい詳細の量に応じて2つのオプションが用意されています。
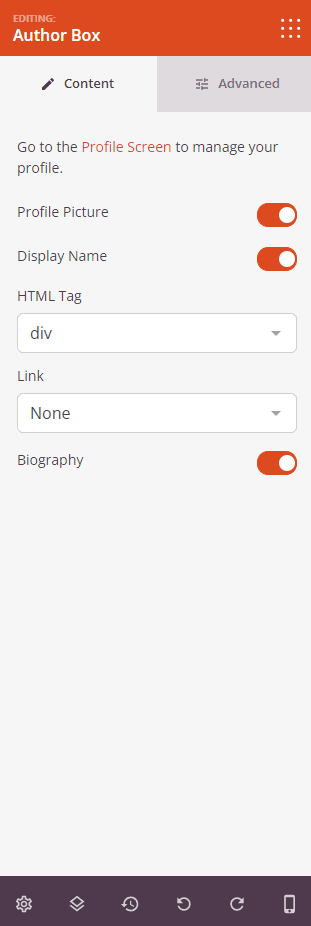
著者ボックス - 著者のプロフィール画像、名前、略歴をすべて1つのブロックに表示します。ブロックパネルからテンプレートレイアウトにドラッグします。

著者ボックスブロックには、著者の詳細の表示方法をカスタマイズするための設定が含まれています。
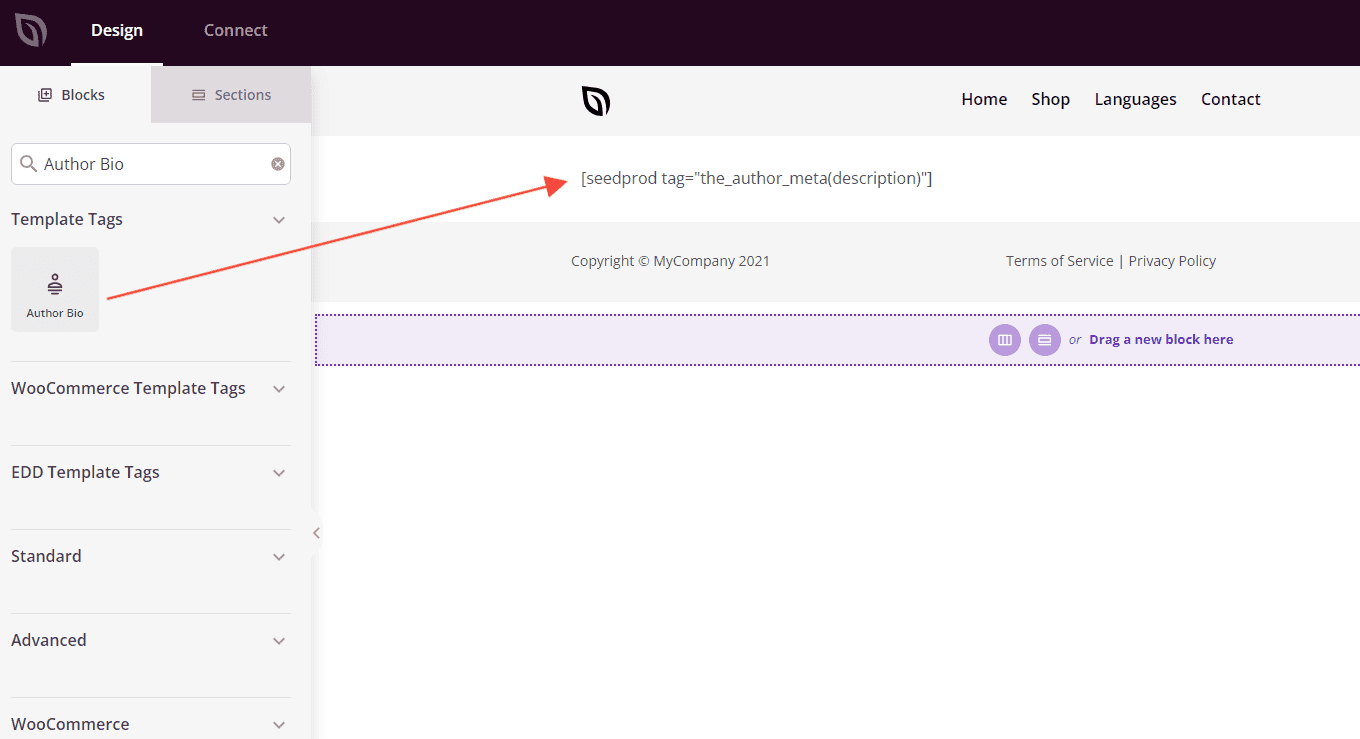
著者略歴 - プロフィール画像や名前なしで、著者の略歴テキストのみを表示します。よりシンプルな表示を好む場合や、著者情報を個別に配置したい場合に使用します。
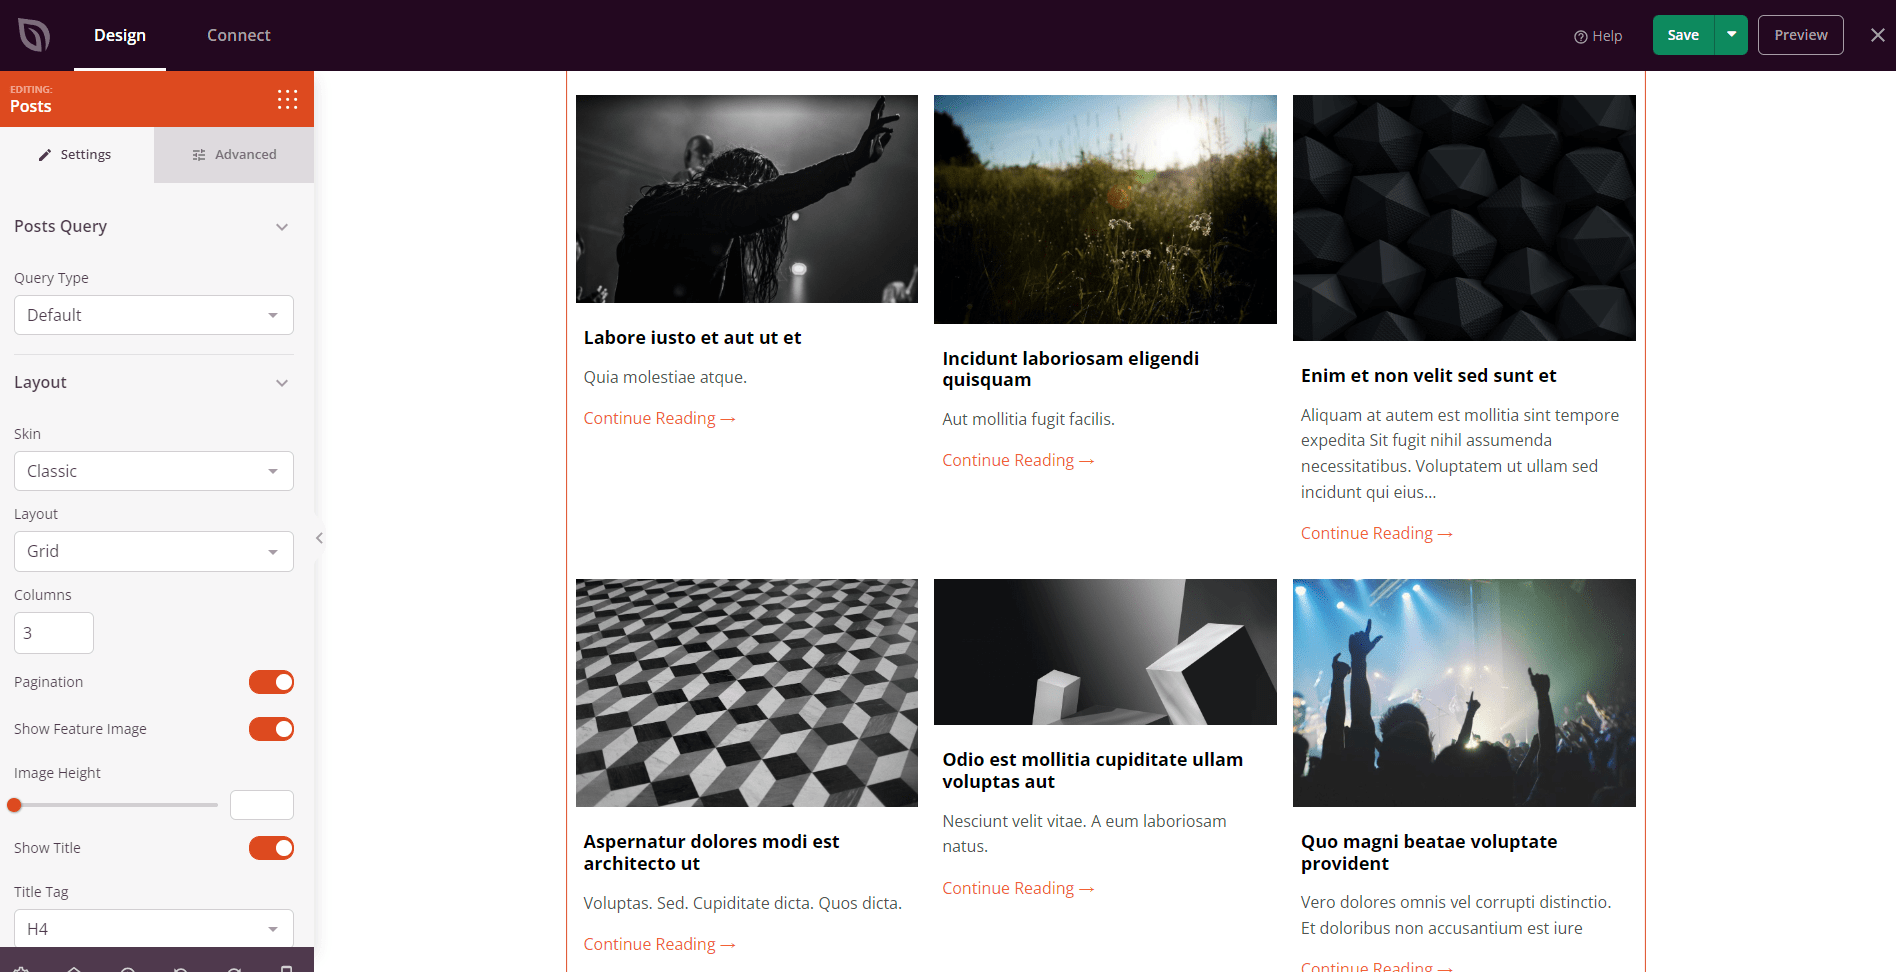
ステップ 4: 投稿ブロックを追加して著者の投稿を表示する
テンプレートに投稿ブロックをドラッグして、現在の著者が書いた投稿のリストを表示します。ブロック設定で、クエリタイプをデフォルトに設定します。これにより、表示されている著者に属する投稿のみが自動的に表示されるようになります。
ステップ 5: テンプレートを公開する
レイアウトが完成したら、保存ボタンのドロップダウン矢印をクリックし、公開を選択します。著者テンプレートは、表示条件に一致する著者アーカイブページにすぐに適用され始めます。
著者テンプレートが公開されました。訪問者が著者の名前をクリックすると、カスタムレイアウトに著者の略歴と投稿が自動的に表示されます。いつでもSeedProd > Website Builderに戻ってテンプレートを編集したり、条件を調整したりできます。